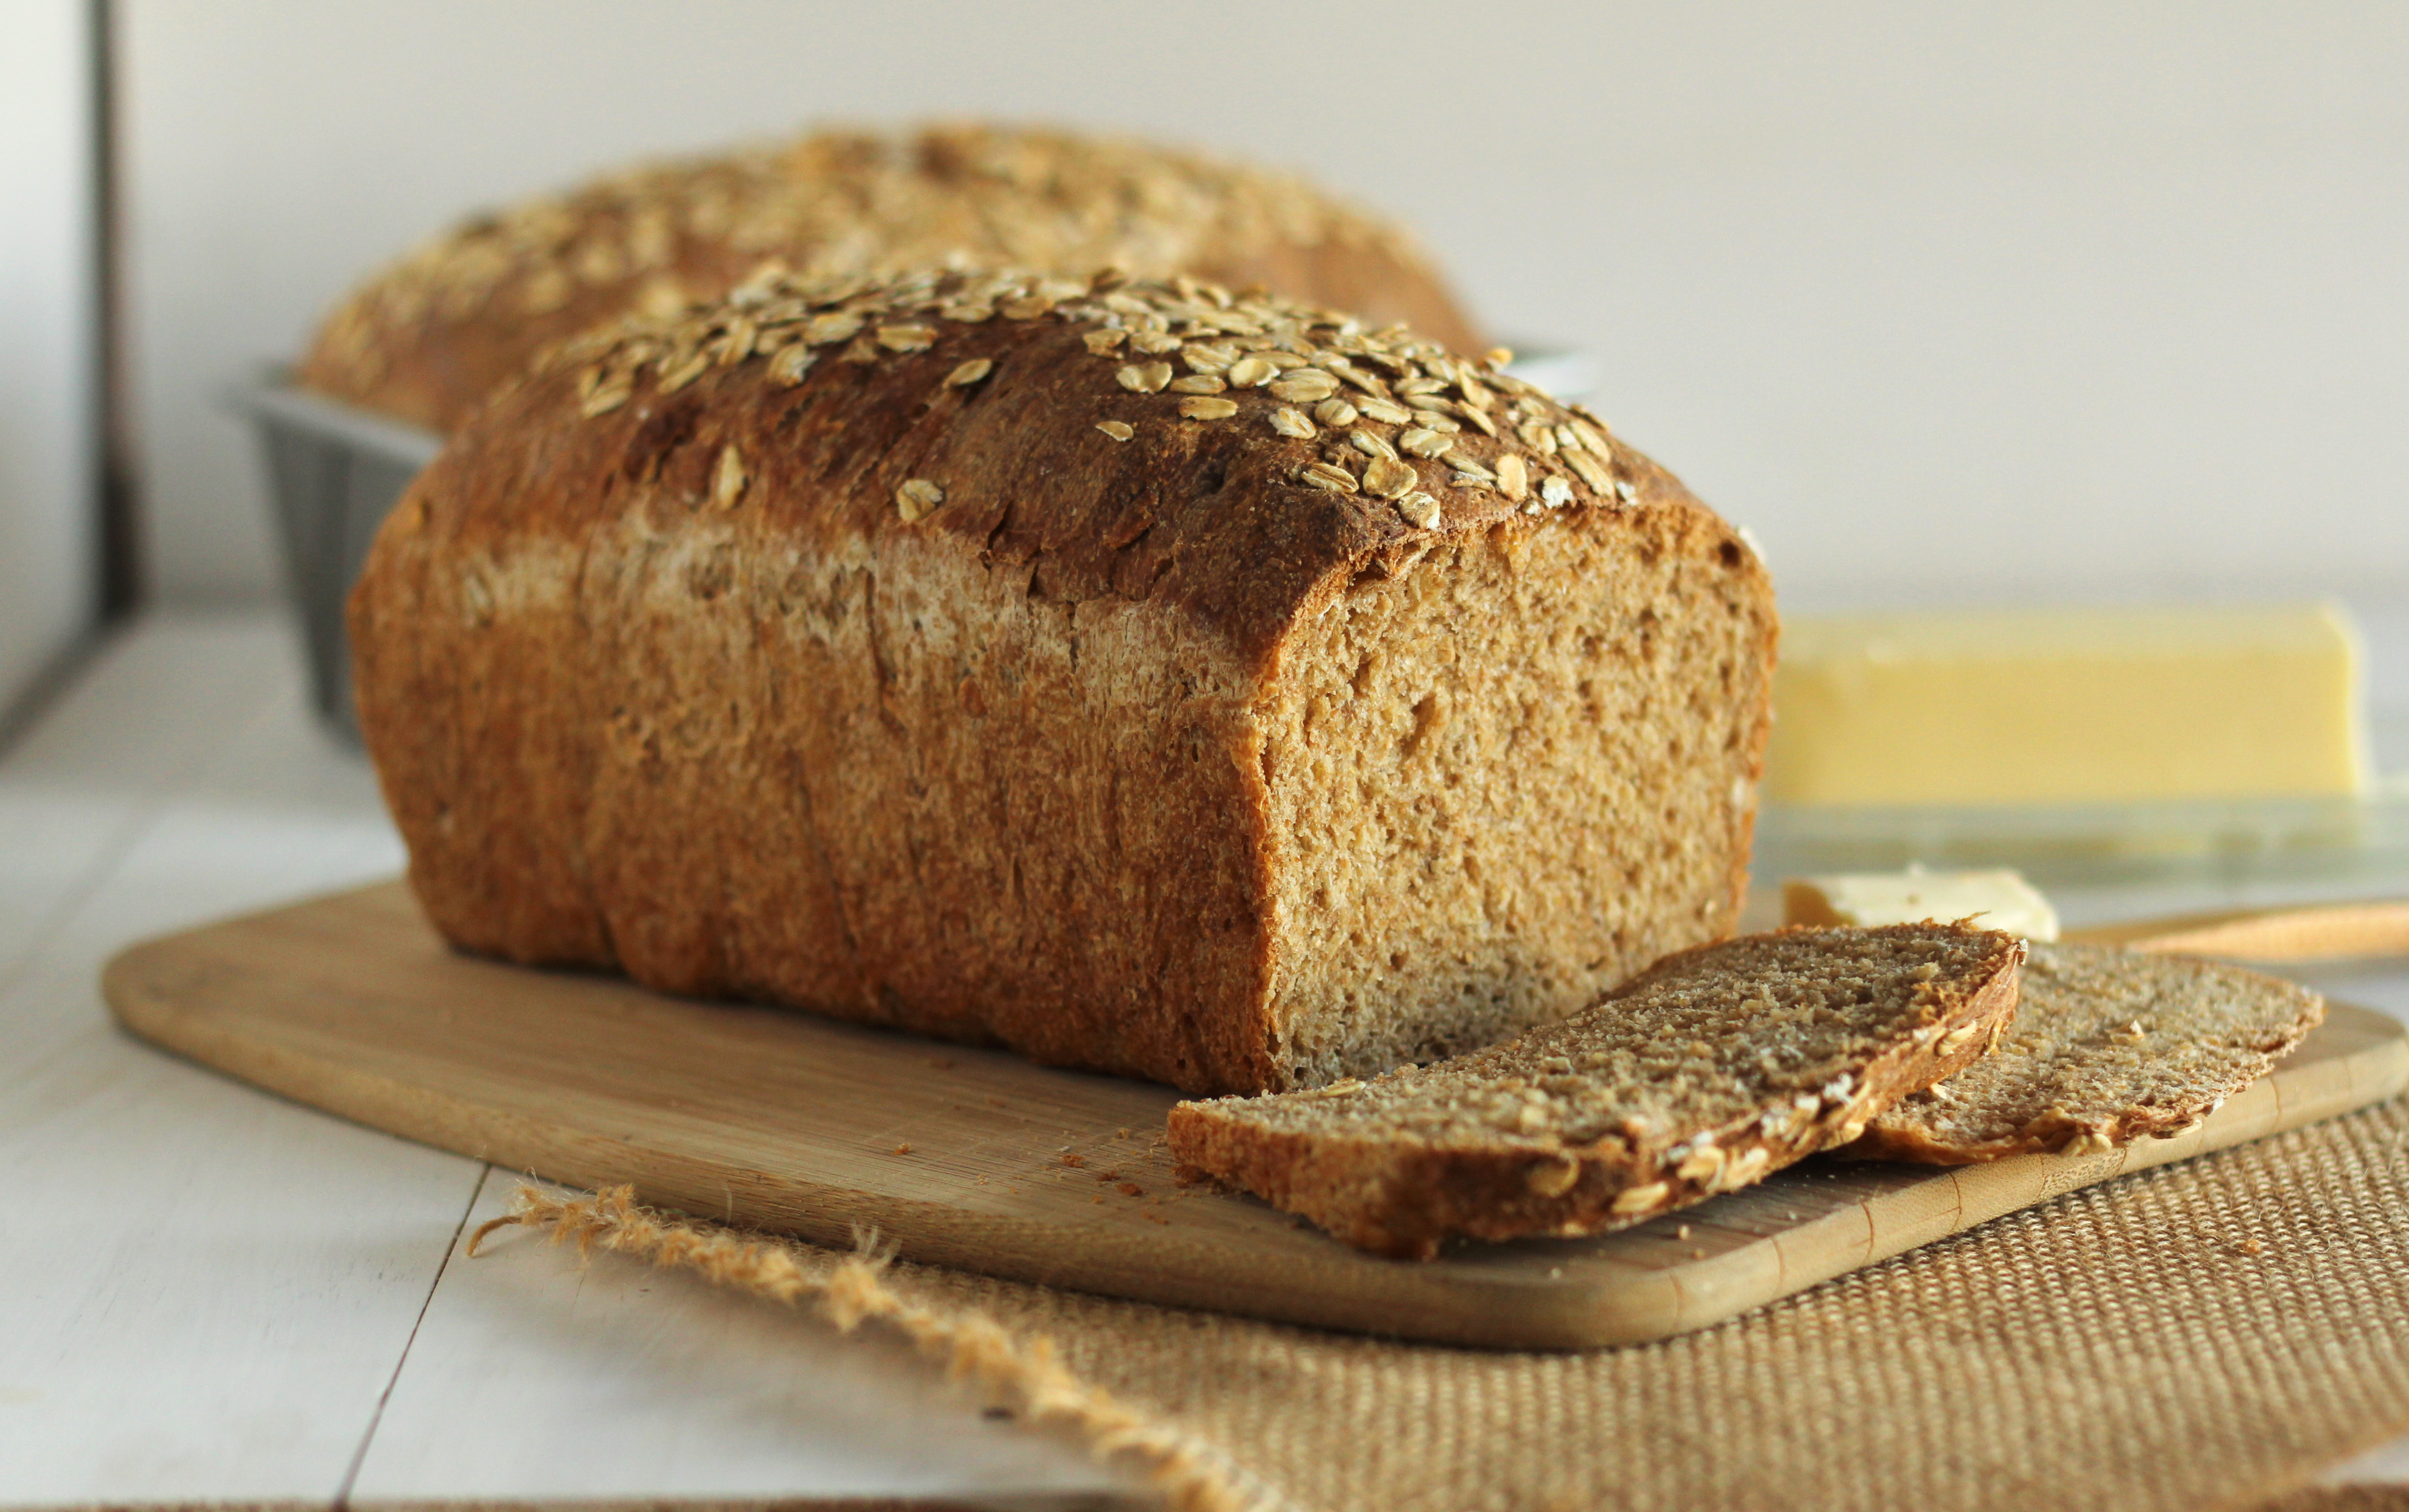
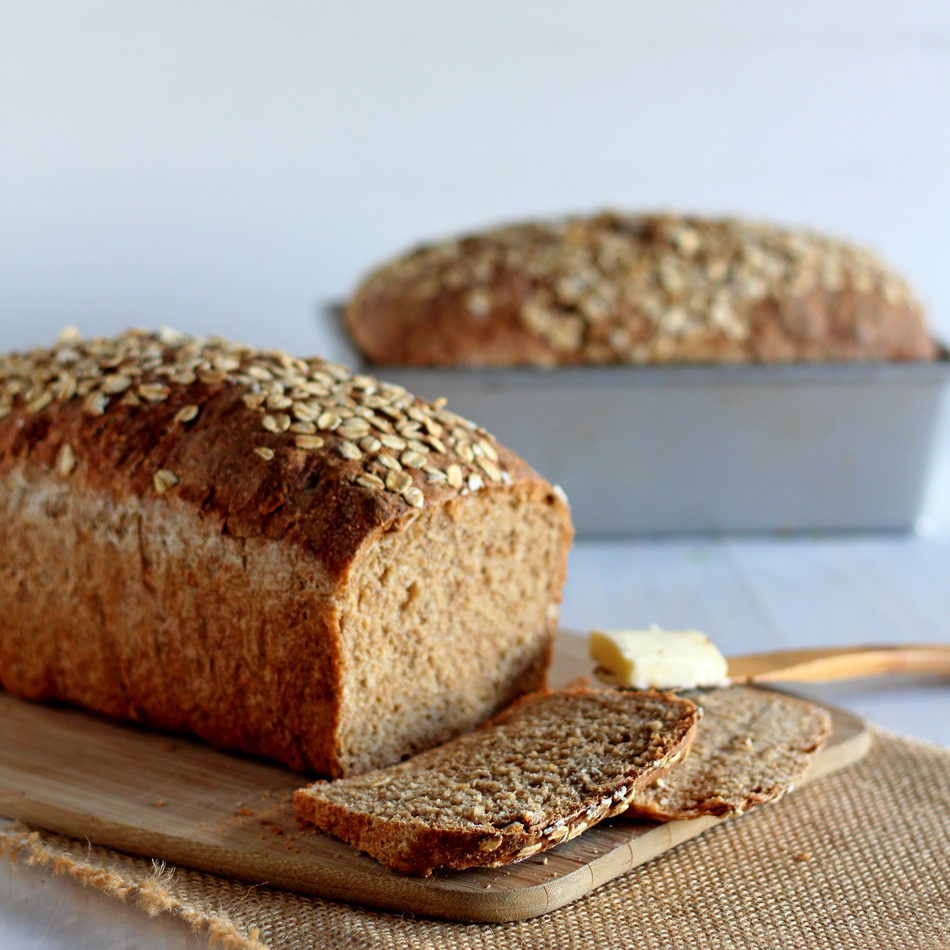
Soft whole wheat sandwich bread topped with oats. This whole grain bread is perfect for sandwiches is easy to slice and bakes up beautifully.

I love making my family bread. OK. That sounds a little strange to me. I don’t love making my family into bread. I don’t love making a family (recipe) bread. I love making bread for my family. That sounds better.
I really do. It’s a toss up between bread and sweets for my favorite things to bake. Even more so, I love when I can make something delicious that’s free of preservatives.
I challenge myself to make bread on a regular basis. Time after time it’s gotten easier as I learn what dough should feel and look like. Yeast, temperature, rising, they all used to scare me off. But as I put my heart and soul into it I fell in love and haven’t looked back.
Now as I’ve progressed I’m trying more challenging things. It’s really quite fun, actually. There is no greater satisfaction in the kitchen than perfect rising dough that turns out into marvelous breads, buns, pretzels, or pizza dough.
I’m not gonna lie to you. This bread is not the easiest bread to make. It’s not ultra super simple.
But I will tell you the truth. It’s THE BEST WHOLE WHEAT bread I’ve yet to make. And I’ve tried quite a few over the last 2 years. So for me personally it’s the worth the extra trouble.
I don’t know if you’ve ever worked with a starter for bread or not. But DO NOT be intimidated. A starter is like ‘magic’ for your bread. It adds an extra depth of flavor as the yeast, water and flour ferment for several hours or overnight.
Starters add wonderful flavor to your bread but they also help the bread to rise, improve browning of the crust and give a longer shelf life.
Can I get an some applause for that? Nothing stinks more than spending quality time making bread and then it’s moldy before you can finish the loaf. This bread easily lasted 4 days in my house. I was quite pleased.
I would love nothing than to encourage you to get out of your comfort zone in the kitchen and get your hands a little grubby with dough. It’s so fun and you’ll be feeding your family health and life.
Love and blessings,
Melanie
Whole Wheat Sandwich Bread with Oats
Ingredients
For Starter Sponge:
- 2 cups 11 oz bread flour
- 1 cup warm water 110 degrees
- 1/2 teaspoon instant or rapid rise yeast
For Bread
- 1/4 cup very warm water 105-115 degrees
- 1 teaspoon active dry yeast
- 3 1/2 cups 18.48 oz whole wheat flour
- 2 1/3 cups 12.50 oz bread flour
- 2 cups 6 oz old fashioned oats
- 1 Tablespoon salt
- 2 3/4 cups cool water 75 to 78 degrees
- 1 1/2 cups of starter sponge above *sponge creates more than this. Only used specified amount.
- 3 Tablespoons honey
- 2 Tablespoons molasses
- 2 Tablespoons canola or vegetable oil
- Extra oats for topping
Instructions
For Starter Sponge:
- Combine bread flour, water and yeast in a large bowl. Stir with a wooden spin just until mixed through. Cover with oiled plastic and allow to set at least 6 hours or up to 24 hours.
For Bread:
- In a large bowl combine warm water and yeast. Stir with a fork to blend and allow yeast to dissolve. Set aside to stand for 3 minutes.
- In a medium bowl whisk whole wheat flour, bread flour, oats and salt together. Set aside.
- Add the cool water, starter sponge, honey, molasses and oil to the yeast mixture and mix with your fingers for 2 minutes. Mixture will be gloppy and feel messy and will be slightly foamy. Add the flour mixture and stir with your fingers to blend in flour, scraping sides of bowl as needed. Fold dough over itself until it gathers into a shaggy mess.
- Move dough to a slightly floured surface and knead for 7-8 minutes by hand. Or transfer to a mixing bowl attached with dough hook and knead on low speed (level 2) for about 7-8 minutes. Dough should clear sides of bowl but not bottom. Add as little flour as possible. Dough should be soft and moist. If it's too wet add a tablespoon of flour at a time. If it's too stiff add cool water 1 tablespoon at a time until you have a supple dough.
- Cover dough with oiled plastic and let rest for about 20 minutes. You should be able to stretch it easily but it won't be transparent because of the oatmeal.
- Knead the dough for 2-3 more minutes. Lift up the dough. Lightly oil the bowl and place the dough back into the bowl. Turn to coat dough with oil. Cover with oiled plastic and let rise at room temperature for about 2 to 2 1/2 hours OR until doubled.
- Dough is ready when you make an indention with your finger and it does not spring back.
- Remove dough from bowl and place on a lightly floured surface. Shape into a log. *See directions below.*
- Place extra oats in a shallow dish. Mist or lightly brush tops of loaves with water. Roll tops of loafs in oats. Place in greased 9 x 5 inch loaf pans. Cover with oiled plastic. Let rise for about 2 hours OR until doubled.
- Thirty minutes before baking preheat oven to 450 degrees. Place cast iron skillet and mini loaf pan or other small pan (not glass) on the bottom rack of the oven. Place baking stone (if you have one) two rungs above on oven rack.
- Fill plastic spray bottle with water. Prepare several cups of water to be boiled later using a teakettle or saucepan.
- Five to 10 minutes before baking turn water to boil. Carefully place two ice cubes in the oven in small loaf pan. This creates moisture.
- When loaves are ready place pans on the baking stone. If not using just slide onto oven rack. Quickly pour water into the skillet and shut the oven door. After 1 minute quickly spray loaves with bread and shut door again.
- Reduce oven temperature to 400 after 20 minutes. Rotate loaves for even browning. Bake for another 25-30 minutes until loaves sound slightly hollow when tapped on bottom. Sides and bottom should feel firm. If you have a thermometer loaves should read around 210 degrees.
- Cool completely on wire rack before cutting.
- To freeze: Wrap tightly in aluminum foil and place in freezer bag.
Directions for shaping loaf:
- Flatten dough into a rectangle.
- Fold top 1/3 towards you.
- Fold bottom 1/3 up and away from you overlapping last fold.
- Turn dough a quarter turn and repeat. Folding the top edge down and the bottom edge up again. Pat the seam to seal it.
- From the top edge fold the dough one third down and seal the seam. Repeat one or two more times until the loaf is a nice round log. Seal final seam with heel of your hand.
Adapted from a recipe in
This post contains affiliate links.

I’ve had an eye out for a good whole wheat sandwich bread recipe for a long time! Pinned! Thank you, Melanie 😀
As I mentioned it’s not simple but well worth the effort. Hope it works out for you Allie!
Yay, I’ve been looking for the perfect sandwich bread recipe for months, and yours look flawless Melanie! What a lovely texture, I can’t wait to give this a go. I too love baking with yeast : )
I hope you do get to give it a go. Come back and let me know what you think. I think it was perfect! Love finding killer recipes. 🙂
Bread never looked so good! I have yet to make a homemade bread this fall, but am DYING to. My husband takes sandwiches to work almost everyday so I’d love to have something homemade for him to use. I’ve got to try this.
I hope you get a chance to make and that is turns out great! Thanks for stopping by!
Wow, Melanie this looks awesome! I love that last picture 😀 I love whole wheat bread and am always looking for a new recipe to try. Thanks!! Pinning 😀
these pictures look great Melanie, it definitely looks worth the effort!
Thanks Christine!
This sure does look perfect! Now I’m craving a sandwich 😉
Thanks Ashley. I am too!
Wow! Melanie totally need to try this! I have actually never made fresh homemade bread before. Always went the lazy route and bought it. But now that my son is eating it this sounds like a much better option. I will know EXACTLY what goes into it. Plus, the pictures are stunning! Great job friend. Pinning!
Thanks Krista! Appreciate your kind words. Message me if you have any troubles making it. I know it seems overwhelming at first. But you’ll get the hang of it. Thanks for pinning too! 🙂
Quick question: will a high quality all-purpose flour (I use King Arthur) be an acceptable substitute for bread flour here? I know that you can usually make the switch without any trouble, but wanted to double check before I try it out.
Sure, go ahead and give it a go. When I want to substitute flours I use this website for conversion to help me out. http://www.traditionaloven.com/conversions_of_measures/flour_volume_weight.html
Good luck!
So I just finished making this and I have one question. When I made the sponge, it seemed more like a dough consistency than gooey. Has that been your experience. Okay one more question, do you keep your sponge at room temp. if letting sit for a full 24 hours before making the bread. The bread was definitely a process but I’ll definitely be making it a weekend tradition!
My sponge qualities are airy, bubbles on top. It looks like if I were to sink my hands it that it would collapse. It has the characteristics of dough but doesn’t look like you could hold it in your hands. Does that help?
I do keep my sponge at room temperature just sitting on the counter. Sounds like it turned out well for you though.
That does help, my sponge was more like a dough that I could handle. I weighed the flour so maybe more water next time??? The only thing I did different than the recipe was to use active instead of Instant dry yeast since I didn’t have both. It did work out well though; thanks for your thoughts!
Just want to make sure i am interpreting this correctly; I end up letting the dough rise for a total of 4-4.5 hours?
Once in the oiled bowl, and then again within their loaf pans?
It really depends on the temperature in the room. Note that it says OR until doubled. So it could be a total of 4 hours but just go by ‘doubled’. But yes dough rises on it’s on in a bowl and then again after it’s in the pans. Hope that helps!
Thanks for stopping by!
So don’t add sugar to the warm water and active dry yeast to make bread? (not starter)
You can add a pinch but I was successful without using the sugar with this mixture.
Good luck. Happy baking!
Turned out great! Thanks!!
That’s great Lauren. So glad to hear. Thanks for taking the time to leave your rating and review!
Come back and visit soon! 🙂
I have the loaves proving right now. I must say this was the nicest dough I’ve ever worked with. I’m on a quest to find the perfect oatmeal bread recipe. I have 2 other recipes that are amazing. But this dough was far better when it came to shaping the loaves. I’ll let you know how the bread turned out once we are able to taste it.
Well the update is that this bread turned out great! Thank you for this fabulous recipe and the time you put into this blog. I’ve been making other recipes of yours as well. Blessings
Thanks so much for leaving feedback Nancy. Glad you enjoyed it.
This bread was well worth the extra steps! This is my new favorite and stand-by. Thank you for the delicious recipe.
This was amazing! I absolutely loved how it turned out! Followed all the directions to a tee, borrowed the rest of the starter for an enriched bread, and was very happy with the crumb, structure (even though I used AP flour) and taste. I knead by hand, just what I do, and made it a ten minute knead the first time and a five minute the second. I couldn’t be happier with it!
Thank you so much for sharing!