This site may contain links to affiliate websites, and we receive an affiliate commission for any purchases made by you on the affiliate website using such links.
Last Updated on April 11, 2025 by Melanie
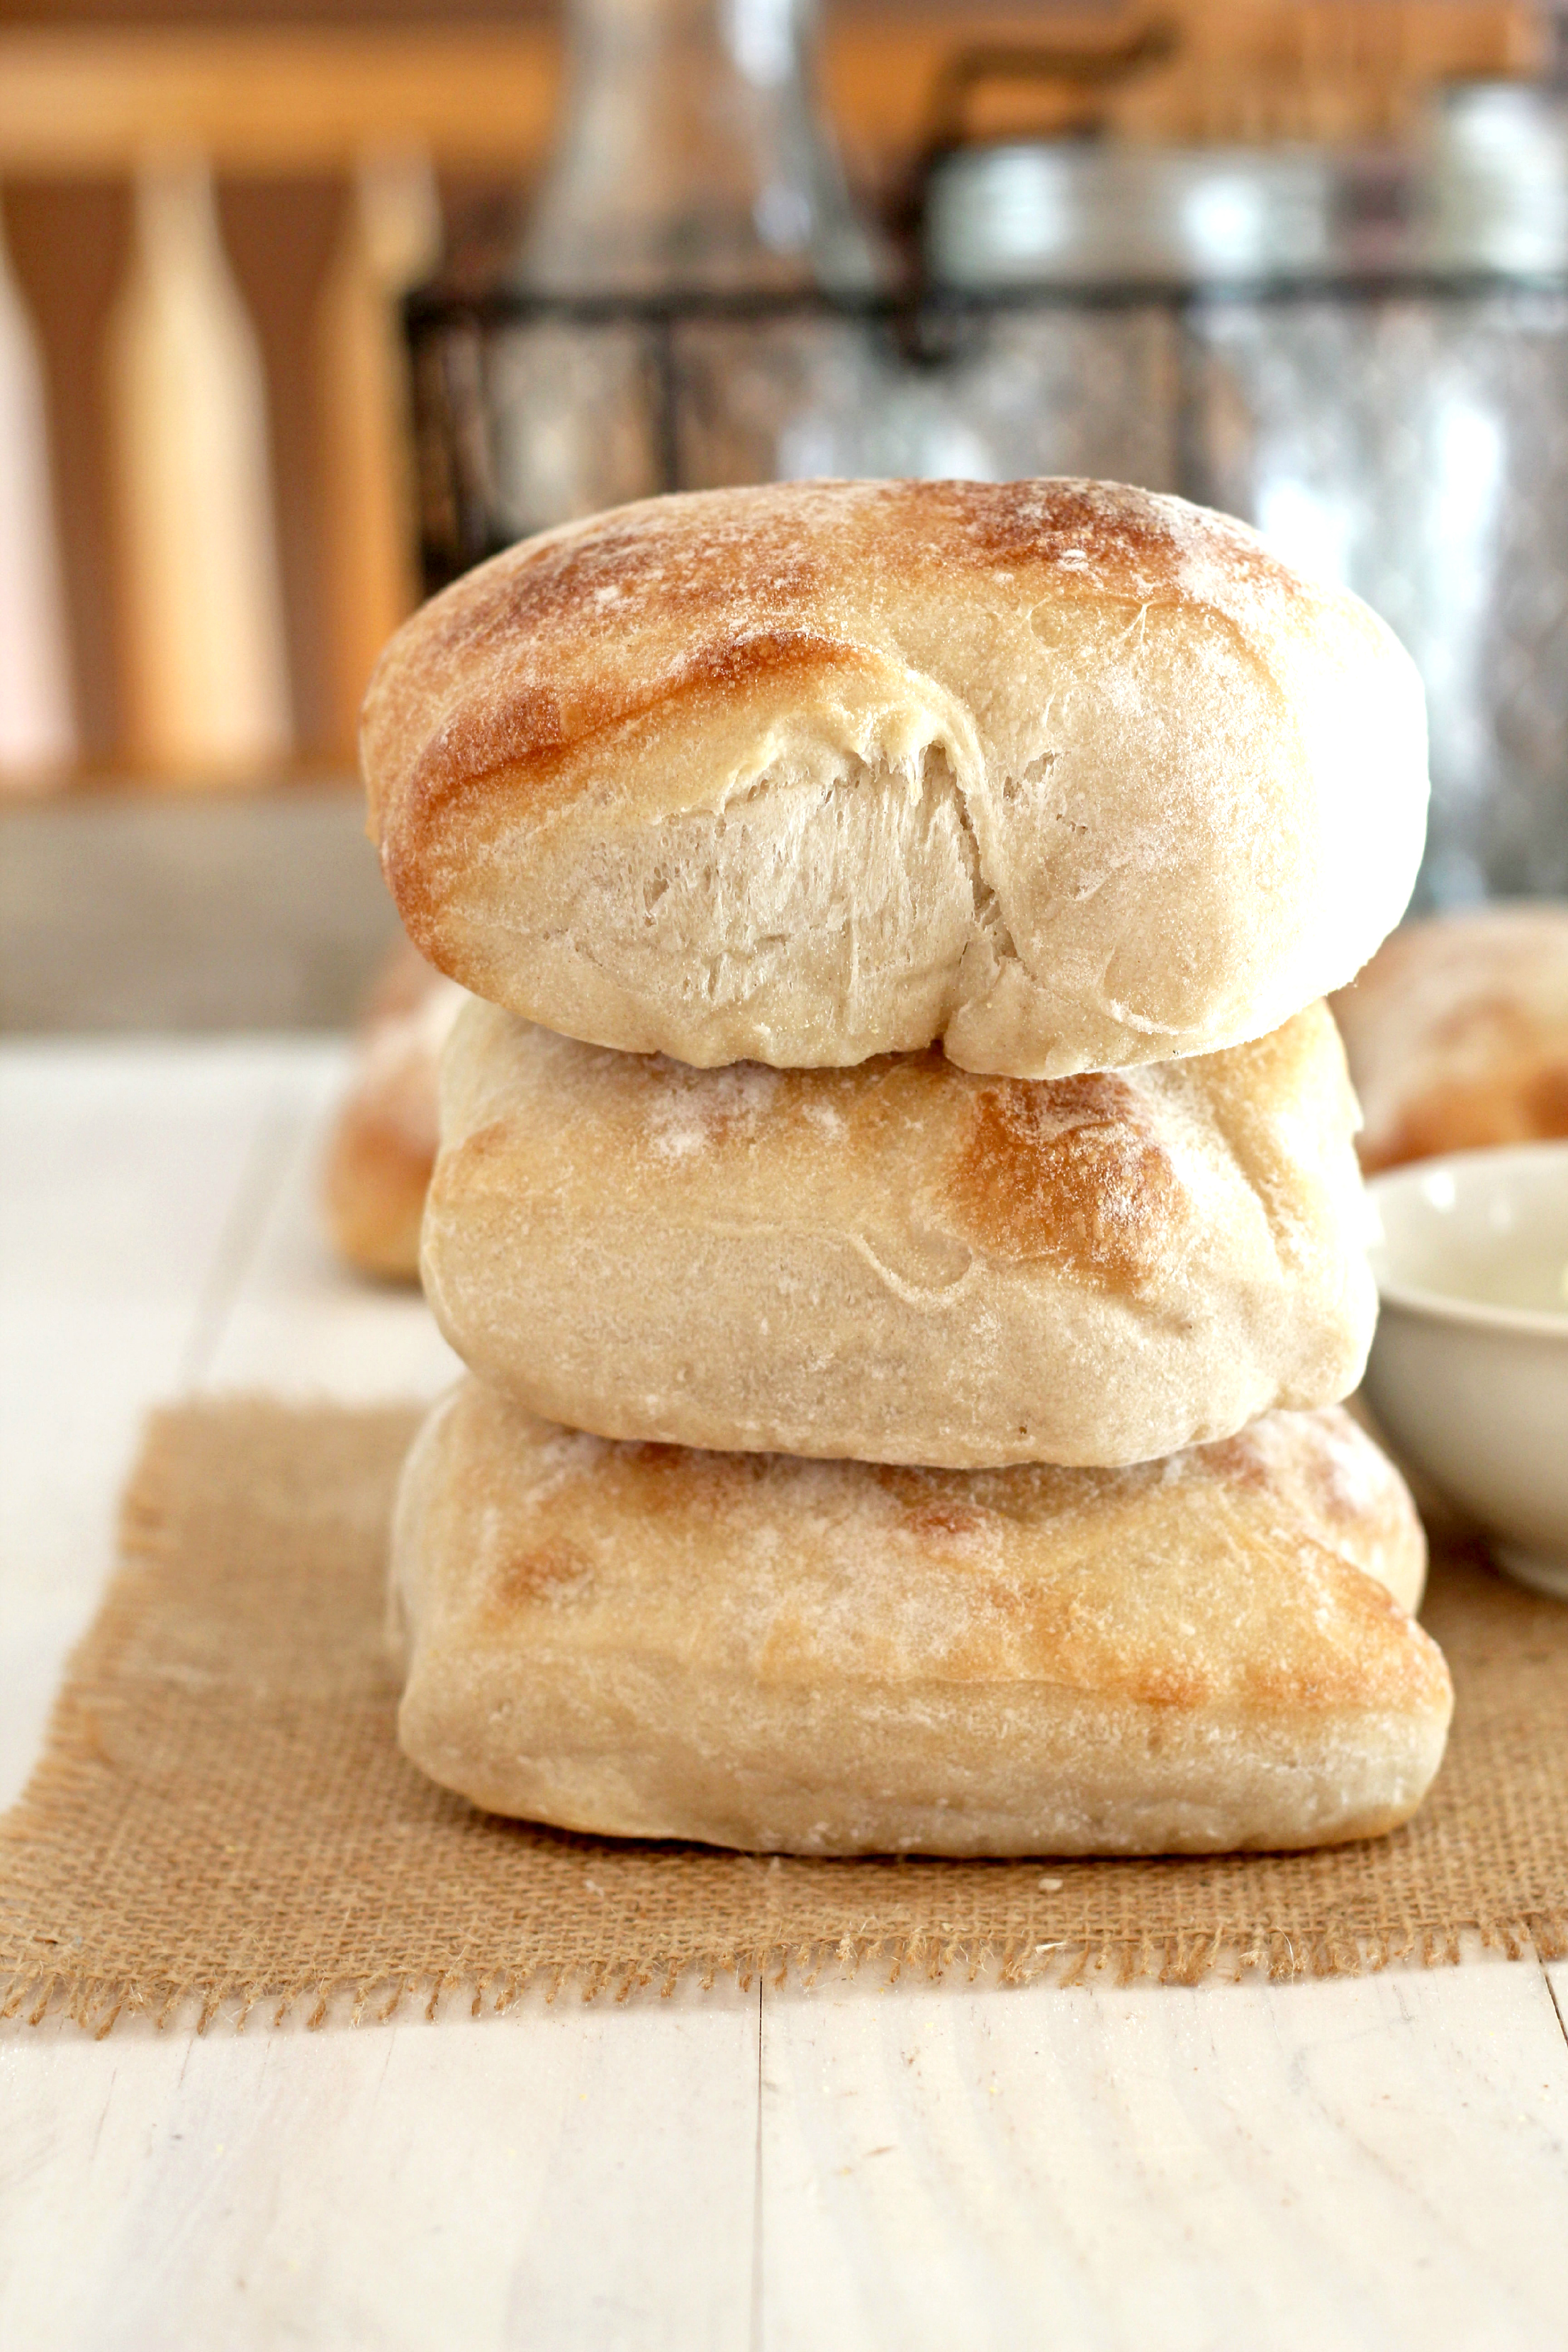
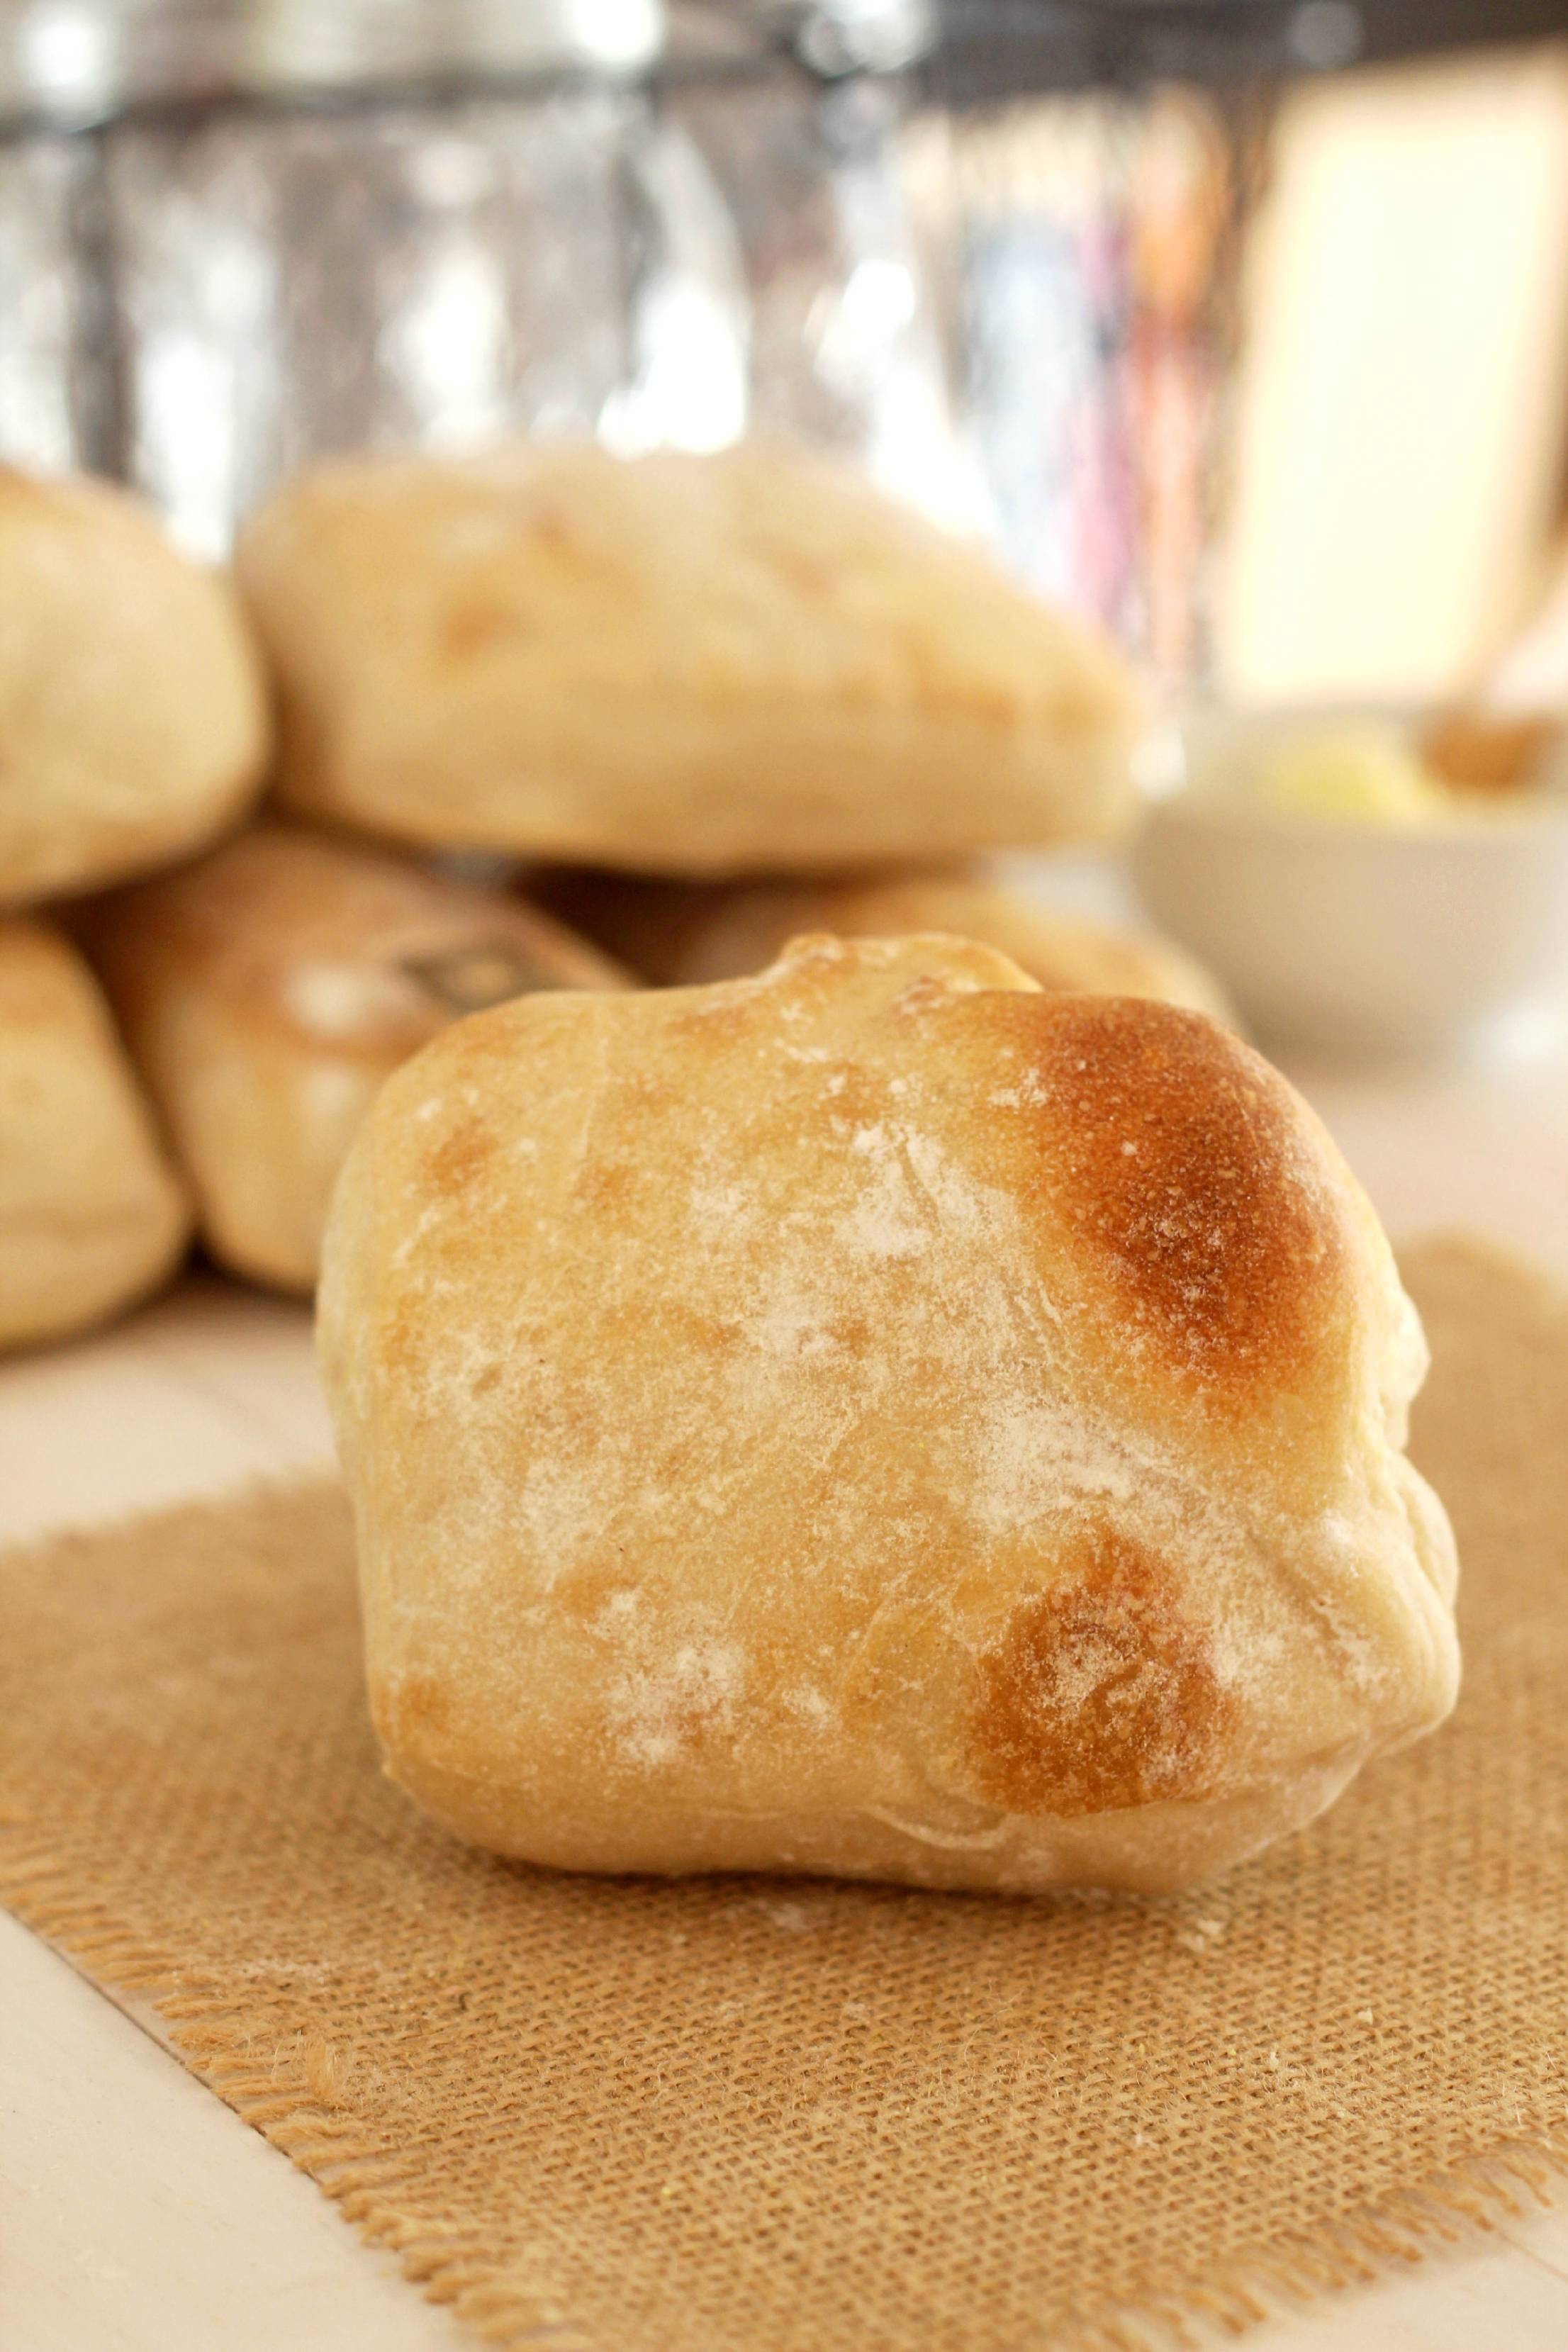
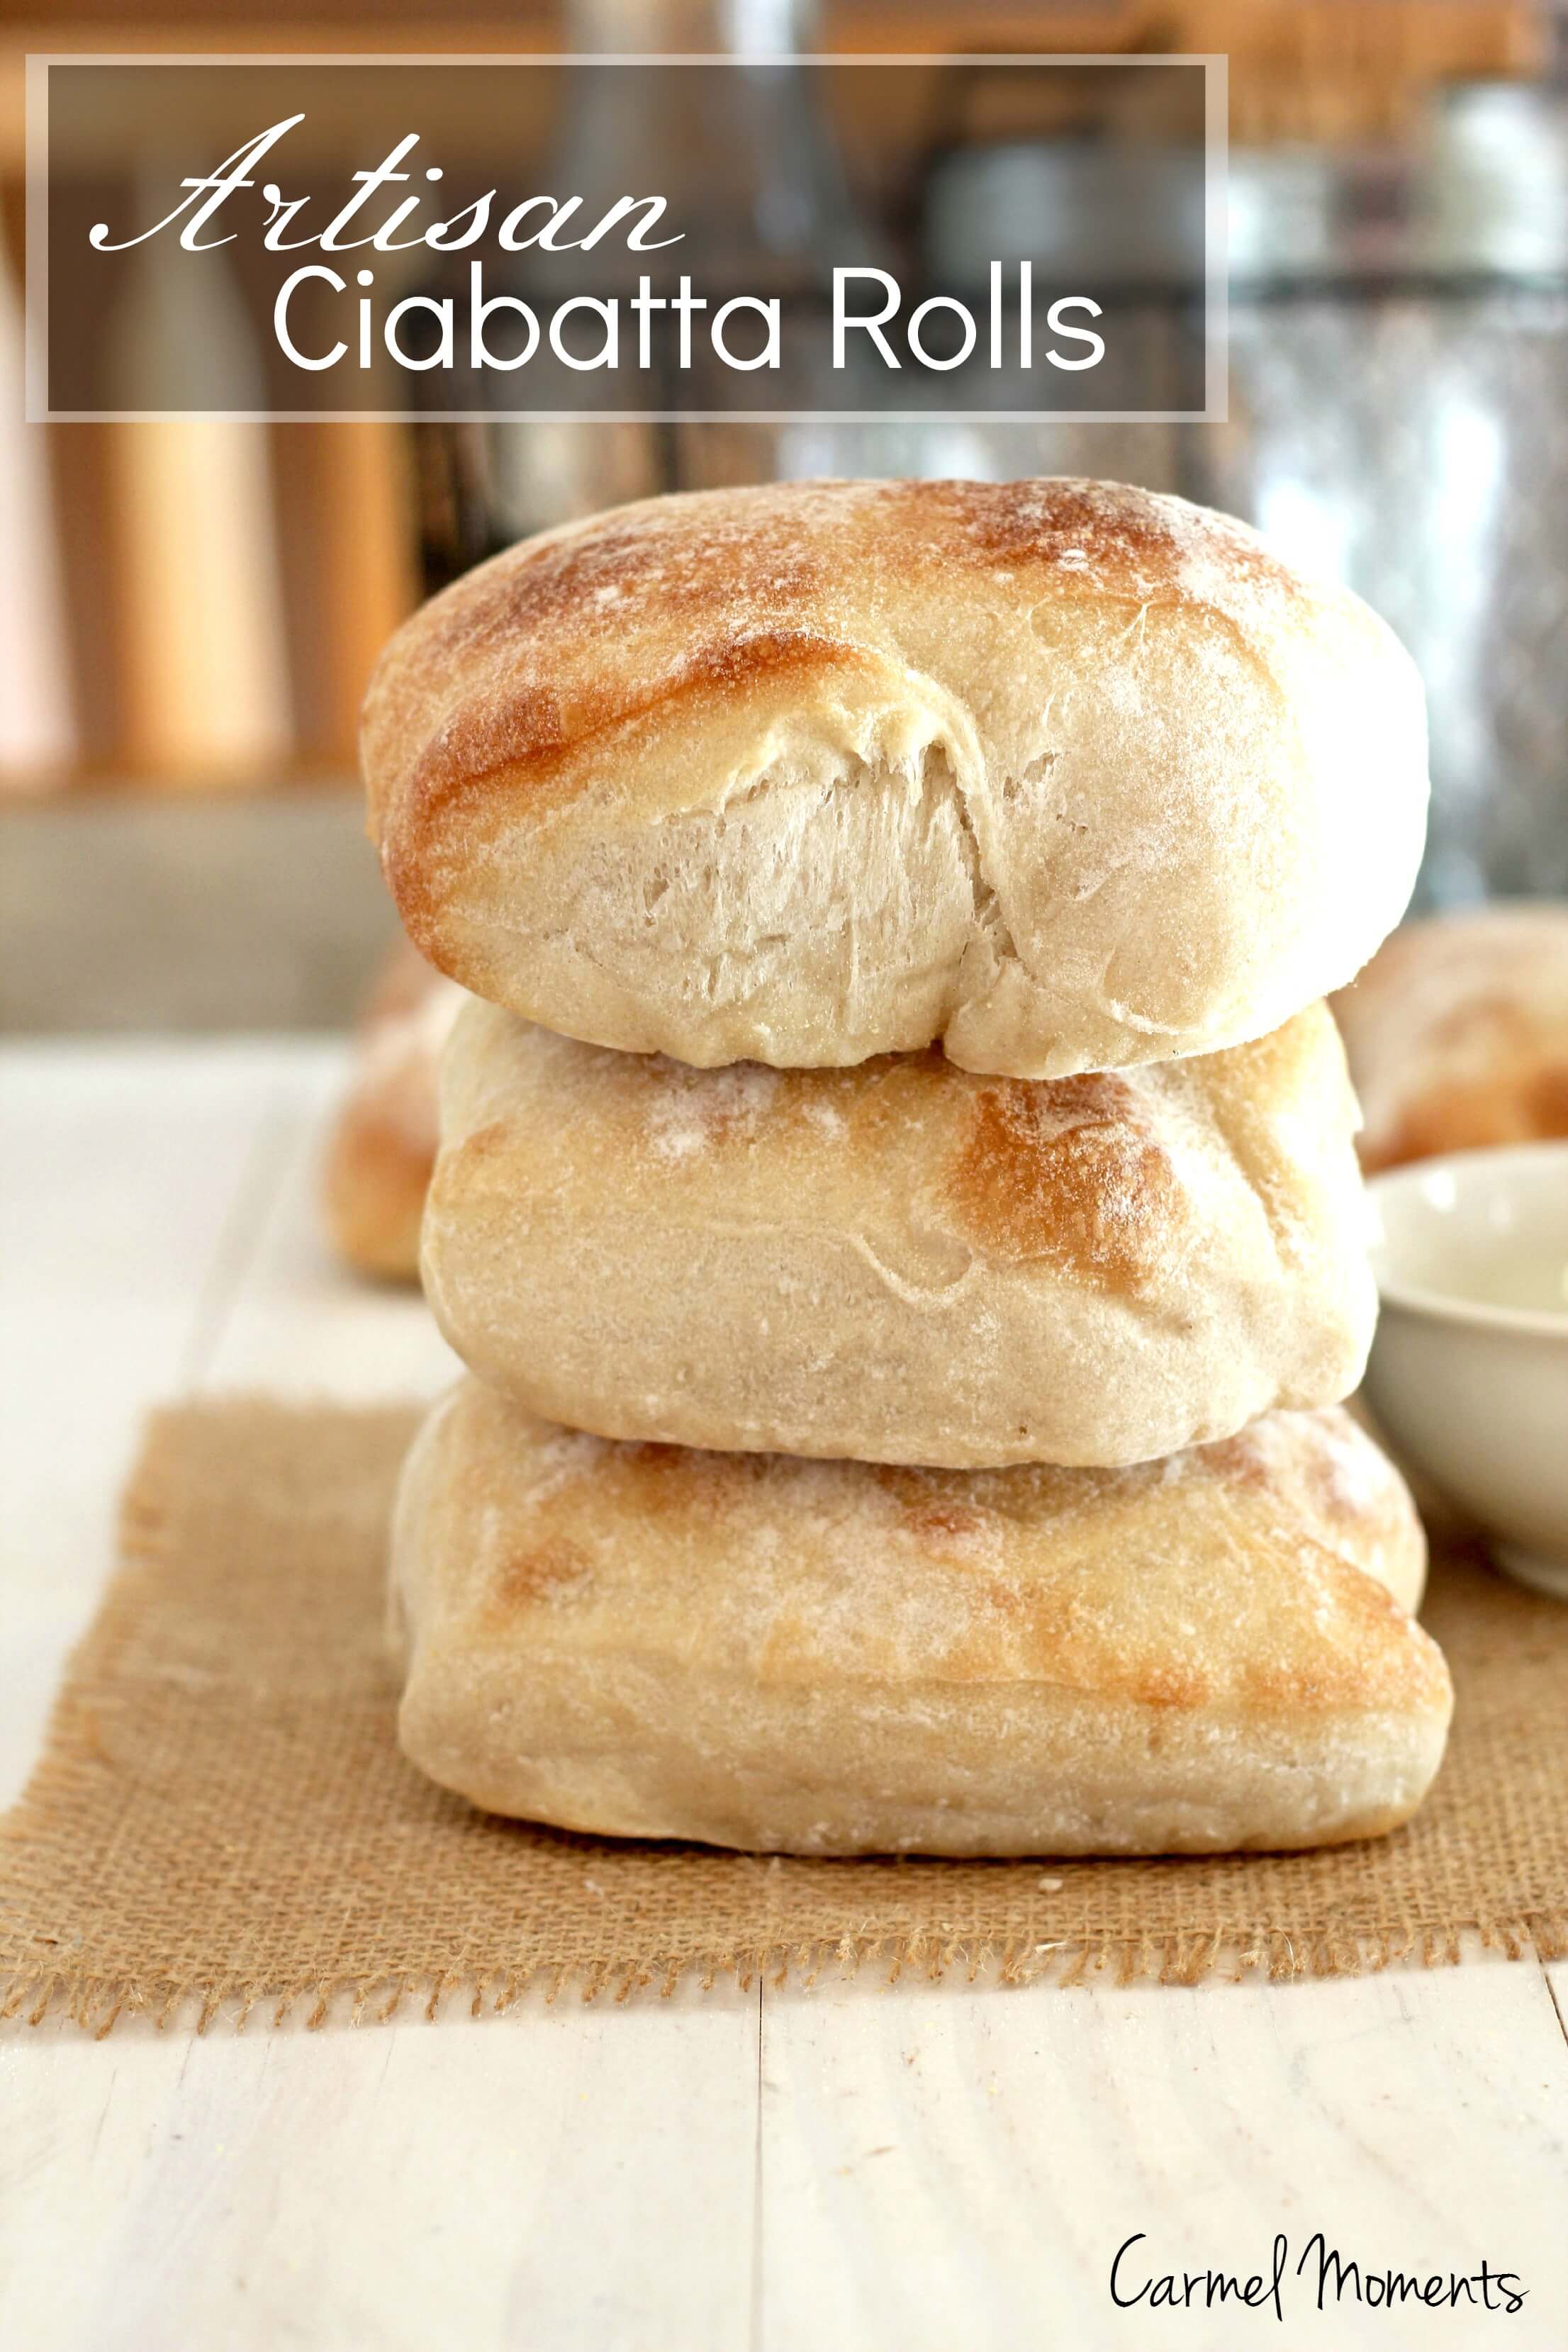
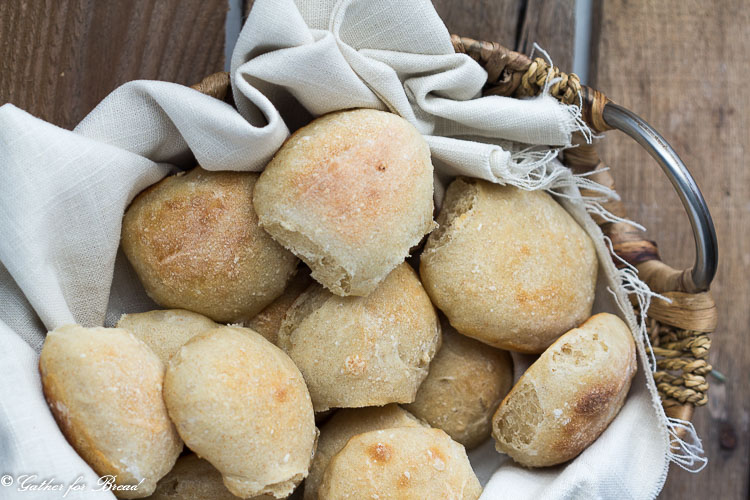
Artisan Ciabatta Rolls – Rustic handcrafted rolls that are full of holes, light and airy. Perfect crumb. Delicious rolls for sandwiches or the bread basket at the table.
Ciabatta is one of my top three favorite breads of all time. It’s so awesome in fact that if it came down to choosing between chocolate and fresh ciabatta. There would no easy decision my friend. Tough luck. I’d probably grab ’em both and run as fast as awkward legs would take me. I refuse to choose sides!

This ciabatta recipe comes from a favorite cookbook of mine. Have you been introduced to this great bread baking manual? Peter Reinhart’s The Bread Baker Apprentice. He really makes bread baking easier to understand for the home baker. I keep it close….always.
I have had this particular cookbook in my Amazon cart for months, I checked it out from the library several times, paid way too many overdue fees and finally…..I just broke down and bought. Money well spent.

This ciabatta recipe is from his book but I decided to give it a little makeover and turn that goodness into rolls. Have you ever had a ciabatta roll my friend? Oh my goodness.
And because I’m no profession there are no two rolls the same exact shape. So I just decided that it would be good to call them ‘artisan’ or how about ‘hand crafted. Haha. Don’t you just love my thinking?
So far I have enjoyed it with chicken salad, good ole butter and I also split it in two and made ciabatta pizzas. That my friend was real winner. I’ll have to put them on the blog soon. 🙂 I’m sure you could come up with plenty more ways to enjoy these hearty rolls. Let your imagination run wild and free.
Now I know this recipe seems complicated. I mean look at all those words. I understand. I used to look and recipes like this and turn back immediately. I get you. But if you’ve accomplished a traditional loaf of bread I suggest you give it a try. It’s beautiful. Bread baking is beautiful. These rolls are out of this world, phenomenal.
I have been baking bread for over 2 years now and over that time I have purchased a few things to make it simpler. I don’t know what I’d do without these items in my kitchen. Most of them are used every time I bake a loaf of bread.
Have a wonderful day!
Til we meet and eat again,

FOLLOW ALONG : Gather for Bread
BLOGLOVIN’ | PINTEREST | INSTAGRAM | FACEBOOK | SNAPCHAT: @GATHERFORBREAD | TWITTER
Be sure to sign up for our emails so you don’t miss the latest recipes! ⇒ Sign up here. ⇐
This post contains affiliate links. If you click and purchase we get a small portion to help support our blog.
Artisan Ciabatta Rolls
- Yield: 8 -10 1x
Description
Artisan Ciabatta Rolls – Rustic handcrafted rolls that are full of holes, light and airy. Perfect crumb. Delicious rolls for sandwiches or the bread basket at the table.
Ingredients
For Poolish:
- 2 1/4 cups (11.25 ounces) unbleached bread flour
- 1 1/2 cups (12 ounces) water (room temperature)
- 1/4 teaspoon instant yeast
For Ciabatta Rolls
- Poolish (from above)
- 3 cups (13.5 ounces) unbleached bread flour
- 1 3/4 teaspoons salt
- 1 1/2 teaspoons instant yeast
- 6 Tablespoons to 3/4 cup water (lukewarm (about 90 - 100 degrees))
Instructions
For Poolish:
- Stir all ingredients for poolish together in a mixing bowl. The dough should be soft and sticky and look like a thick pancake batter.
- Cover the bowl with plastic wrap and let sit at room temperature for 3-4 hours or until the sponge is bubbly and foamy. Immediately refrigerate. It will keep up to 3 days in the refrigerator.
For Ciabatta Rolls:
- Remove poolish from the refrigerator 1 hour prior to making dough.
- Stir together the flour, salt and yeast in a 4 quart mixing bow. Add the poolish and 6 tablespoons water. With a large spoon or (low speed with a mixer attached with paddle) mix until ingredients form a sticky ball. If there’s loose flour add additional water as needed and continue to mix.
- If mixing by hand, dip one hand or metal spoon in cold water and use it like a dough hook, to work the dough quickly into a smooth mass. Rotate the bowl with opposite hand while stirring to ensure all dough gets stirred equally. Stir for about 5-7 minutes or as long as needed to form a smooth, sticky dough. If using an electric mixer, mix on medium speed with paddle attachment for 5 to 7 minutes or as long as it takes to create a smooth, sticky dough. Switch to dough hook for final 2 minutes. Dough should clear sides of bowl but stick to bottom. You may need to add additional flour to firm up the dough enough.
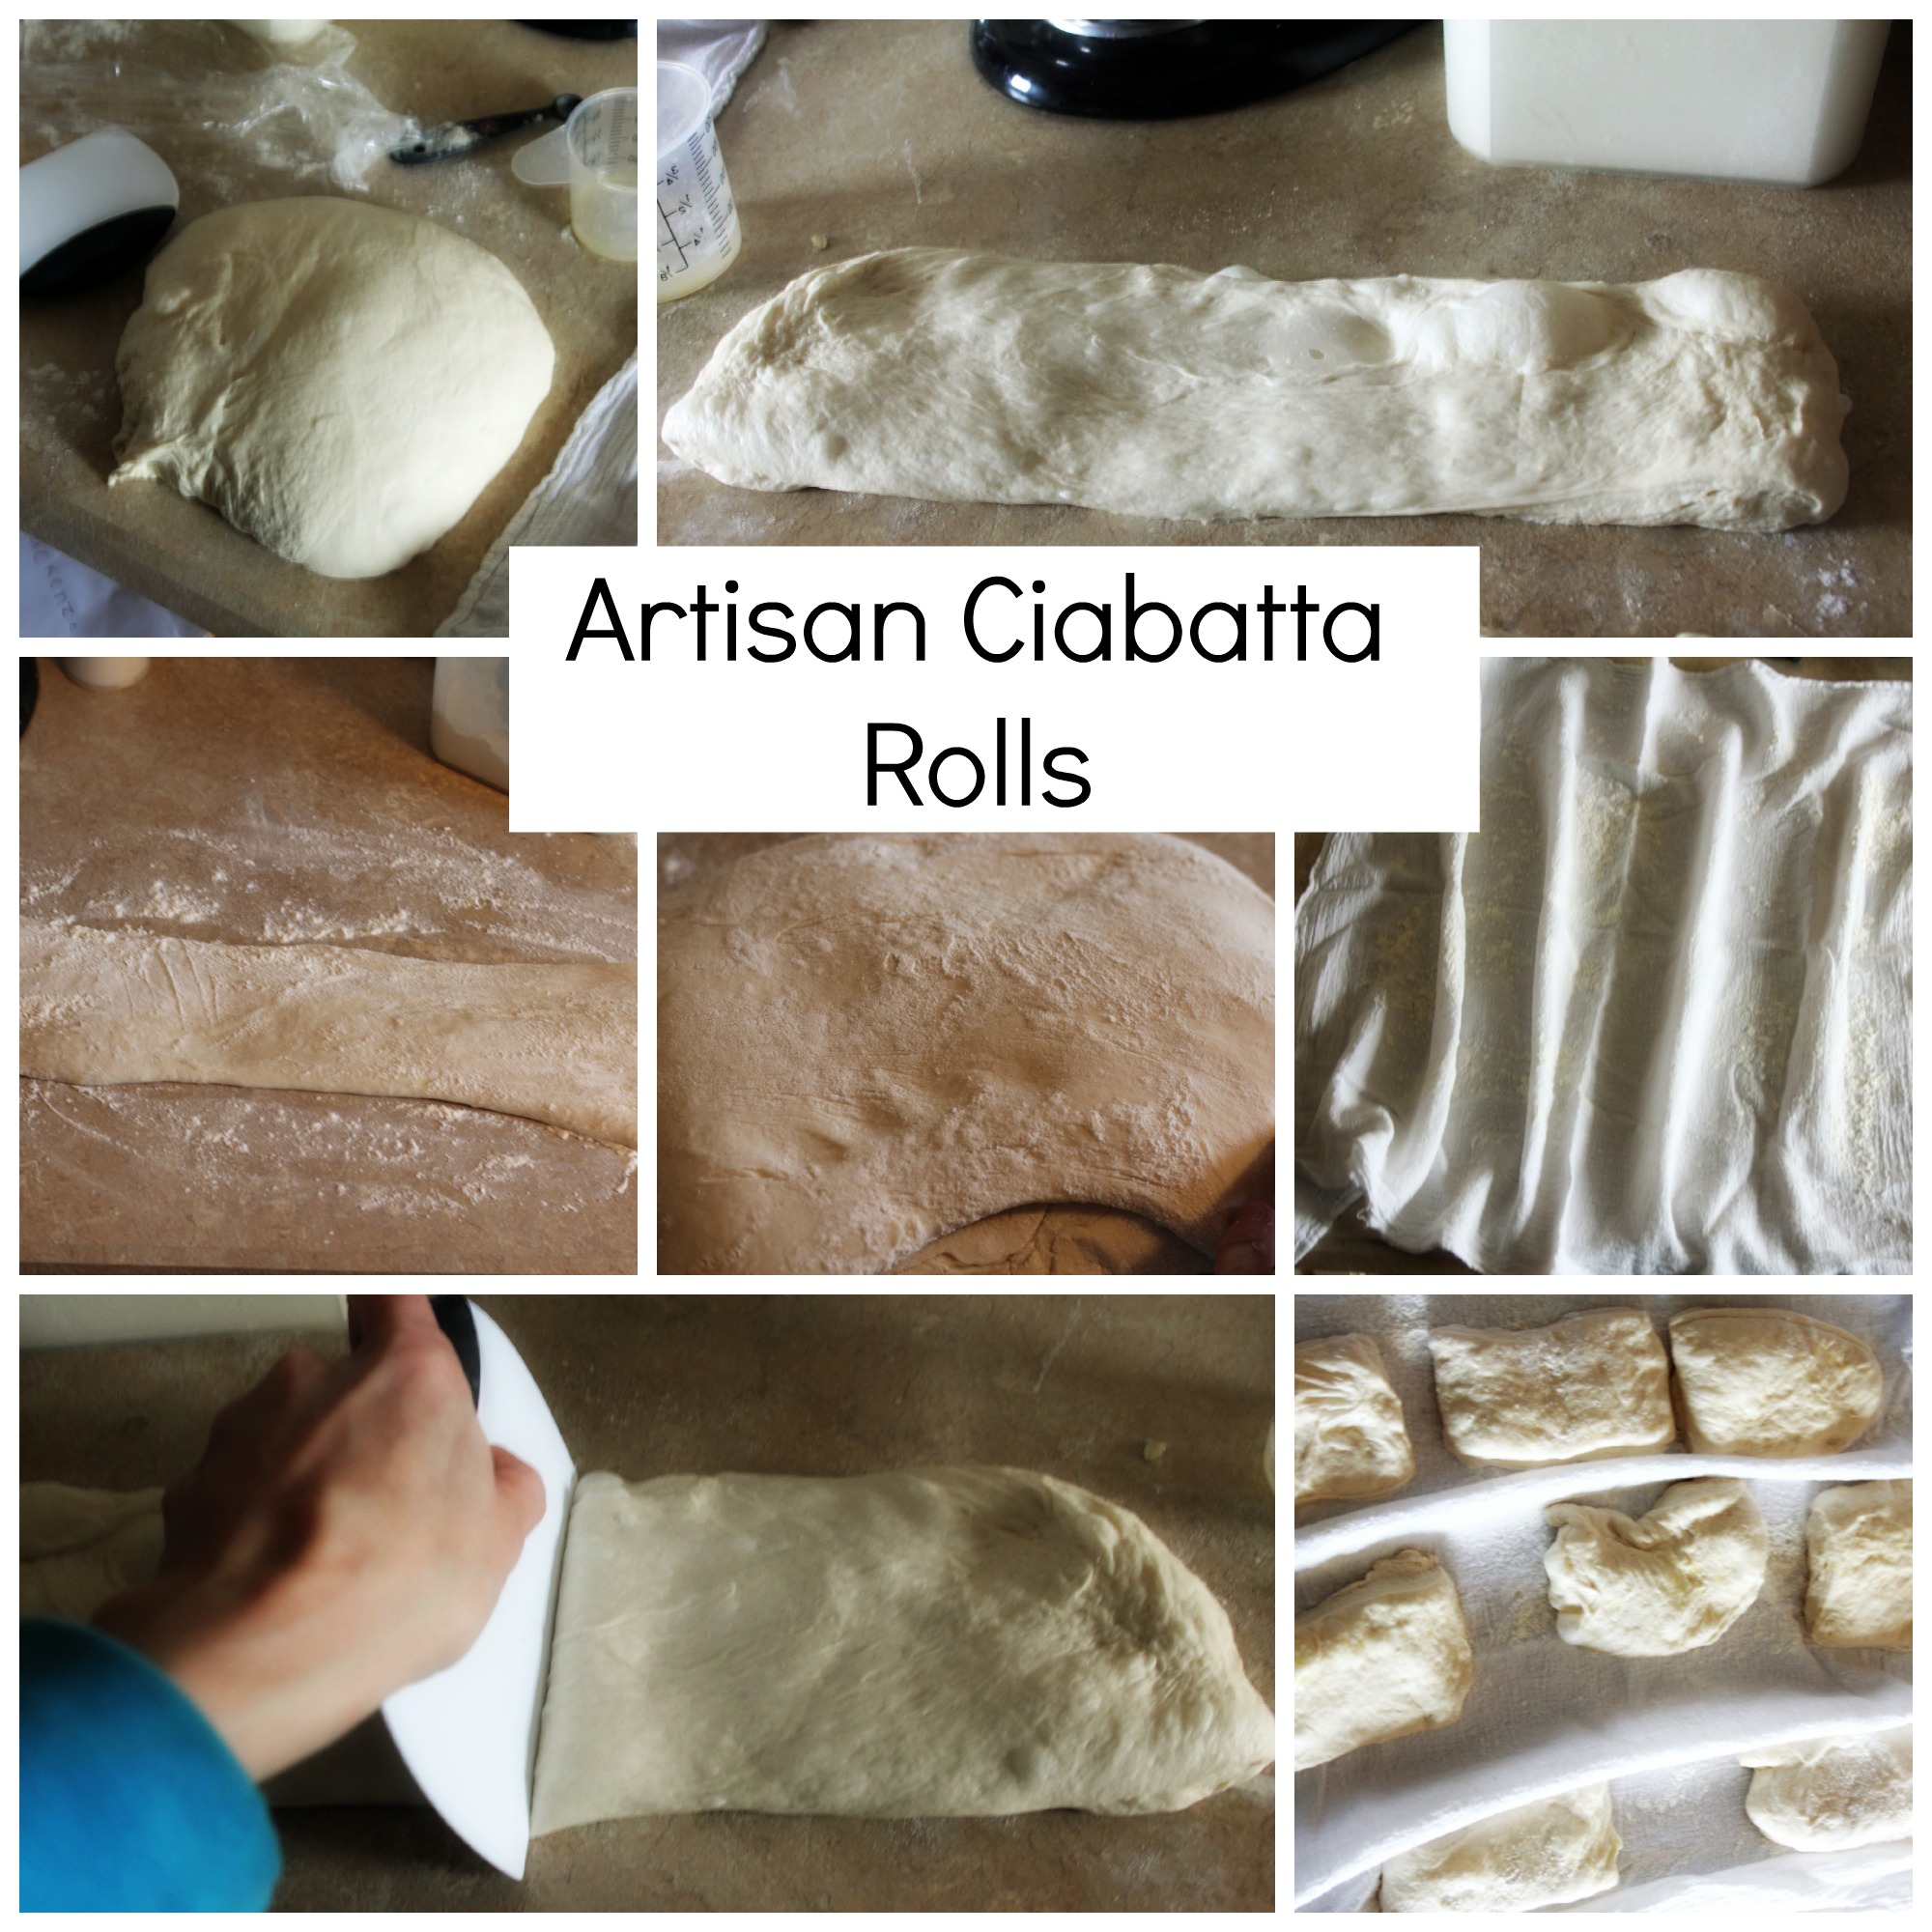
- Sprinkle flour on counter to make an 8 inch square. Transfer sticky dough to floured surface using a bowl scraper or spatula dipped in water. Dust dough with significant flour, and pat dough into a rectangle. Wait 2 minutes for dough to relax. Coat hands with flour and lift dough from each end stretching to twice it’s size. Fold dough over itself and return to a rectangle shape.
- Mist dough with spray oil, and dust with flour. Cover loosely with plastic wrap.
- Let rest for 30 minutes. Stretch and fold again. Mist with oil again dust with flour and cover. Let sit covered 1 1/2 hours to 2 hours. It should swell but will not necessarily be doubled.
- Using flour sack towel or other lint free towel sprinkle generously with flour.
- Remove dough and place on floured surface. Be careful not to degas the dough by pressing all the air out. Separate into 8-10 equal pieces. Sprinkle with additional flour. Use scraper to get under the dough and carefully lift each piece from counter and roll on both sides in loose flour to coat. Gently fold each piece to form approximately 3 inch square. Lay rolls on the cloth with generous separation between them. Bunch the cloth in between rolls to make a small wall. Mist dough with spray oil and dust with flour cover with a towel.
- Let rest for 45 to 60 minutes at room temperature or until dough has noticeably swelled.
- Prepare oven by placing empty steam pan (i.e. metal loaf pan) on bottom rack. Place baking stone on 2nd rack in center of oven. Preheat to 500 degrees. Heat about 1 cup water in teakettle or sauce pan until almost boiling.
- Using a pizza peel or back of sheet pan dusted with cornmeal or semolina flour and very carefully transfer dough pieces to peel or pan. Slide dough squares onto heated baking stone. I baked in 2 separate batches. Pour 1 cup hot water into the steam pan and close door. After 30 seconds open door and spray down walls with water. Close door. Repeat 2 more times in 30 second intervals. After final spray turn oven down to 450 degrees. Continue baking for 5-10 minutes or until dough reaches 205 degrees in center. It should be golden brown in color. Rolls will feel quite hard but will soften with cooling.
- Transfer to a cooling rack and let cool for 30 minutes before serving.
Recipe from: Peter Reinhart’s Artisan Bread

You may also like:


These look perfect! I want one so I can make a giant sandwich right now!
I’ll share that giant sandwich with you. Lunch date!
WOW – Melanie – I am impressed – you say you are no professional – but these rolls look like the ones I saw at The Corner Cafe this weekend! Fantastic job and thanks for sharing this recipe! I could imagine these rolls with melted chocolate smeared on it – that way you wouldn’t have to make a difficult choice between the two 😉
You’re too kind Shashi!
And the melted chocolate sounds like a grand idea!
Wow! These rolls are incredible. And I’m with Shashi! I’d say combine the two so you don’t have to choose between these rolls and chocolate!
Totally done the next time I make them. 🙂
Every time I get a deli sandwich I always order it on a ciabatta rolls. Best rolls ever! Slightly crunchy, but soft enough to bite into without cutting your mouth.
Freshly baked bread is the best. These ciabatta rolls look fantastic.
I always get ciabatta when I can. I have yet to make them. Now I have a fabulous recipe. pinning!
Thanks for pinning Norma! Hope you take on the challenge to make them. 🙂
Ciabatta is one of my favorite breads also, of course I love it by its lonesome with a little bit of butter, but it’s also one of my favorite bread vessels for sandwiches! I must try this!
I love ciabatta rolls, but I can’t find them at any of my local stores. Thanks so much for sharing this recipe! I must try it 🙂
I hope you get a chance to give it a whirl Christin!
Melanie, these ciabatta rolls look absolutely PERFECT, just like from a bakery! Love the shapes and could bite into one right now.
My absolute favorite rolls!
Ciabatta rolls might just be my favorite type of bread! I love baking and freezing them for later. They are perfect for weekday sandwiches. Have a great week, Melanie!
Ciabatta is always always a favorite!! These look so good. I’ve heard of that book and it has been on my wish list for a while.
Totally take the plunge and buy it! If you love to bake breads you won’t regret it. 🙂
I’ve made bread a few times but this post has reminded me that I’ve never made rolls! Pinning this one for later. I love the idea of having some freshly baked rolls in for lunch! 🙂
Omg, I JUST bought that book! It’s fabulous, but I haven’t made anything from it yet. Gotta take out my bread flour 😉
I love Ciabatta!!! Melanie, you have some serious bread making skills!! These look perfect!
Ciabatta is my husband’s absolute favorite! Definitely need to make him these! Thanks for the wonderful recipe Melanie 🙂
Melanie these look absolutely delicious! I’ve always wanted to make ciabatta rolls. Thanks for a great recipe.
No one should ever have to choose between chocolate and bread! Especially not when these lovely rolls are around.
These rolls looks delicious! I make bread quite a bit and have a few favorites and this one looks like it could possibly rank up there with them. Thanks for sharing on What’s Cookin’ Wednesday. (And I would make a run for it with both too!)
These look delicious! I love ciabatta! Once I discovered that Red Robin served their hamburgers on ciabatta, I’ve never been able to go back to a regular bun. I’m going to give these a try soon!
I totally agree Kristen! Who can go back to a regular bun after these? Thanks for dropping by!
I am in love! Ciabatta rolls are to die for. I never thought of making them, but you have given me incentive. Off to buy ingredients.
Have a blessed Easter,
Bev
Glad to inspire you Beverly! Hope they turn out well for you!
Happy Easter!
Melanie, I am so thankful for this recipe! Now I can make this from my own home… it’s my most sandwich bread. And, I will usually buy it from a bakery 3 counties away. So, obviously I don’t make it over there very often. Pinning. 🙂
Wow. That’s a long haul. Hope you get a chance to try them. Thanks for the pin!
I’ve got to try your ciabatta rolls, Melanie, so I’m pinning this for later! I tried making ciabatta a couple of weeks ago, and it was…. ok. But a lot of effort. Hopefully someday I’ll be as proficient as you are! I’ll have to check out that book, and the tools you mention too…
I know you’ve got this Allie! It is a lot of effort but the more I practice the less I second guess myself. Thanks for pinning!
I love caibatta. That’s the same book and recipe I use too and I love it. Your rolls look great.
Thanks Joybee! Great recipe.
I adore ciabatta, and this mini version sounds even more perfect to me! Ahh it must be so delish with some butter! x
Oh I LOVE ciabatta rolls! These look absolutely perfect!!
Thank Cathy! They are delightful.
These look utterly delicious and as a regular bread maker I have yet, to my shame, to make ciabatta. I shall definitely be making these. Thank you for sharing the recipe. Sammie.
So, for these do I use both the cup measurement AND the oz? I’m just beginning baking and I’d rather be safe than sorry!
Sorry, the recipe plugin had messed that up a little. It should appear correctly now. The measurements are given in both cups and ounces. So if you would prefer to weigh your ingredients instead of using cup measurements. Weighed ingredients are more accurate and some bakers prefer to bake this way.
Enjoy Madi! And I love hearing from beginning bakers. We all are beginners at one point. I look forward to hearing back from you!
The recipie seems to work pretty well. The instructions were a little confusing for a first time baker. I have made bread before so I figured it out. The sequence of adding water and then spraying was confusing though. Nonetheless they came out great. I wanted to share the picture but could not see how.