This site may contain links to affiliate websites, and we receive an affiliate commission for any purchases made by you on the affiliate website using such links.
Last Updated on August 6, 2025 by Melanie
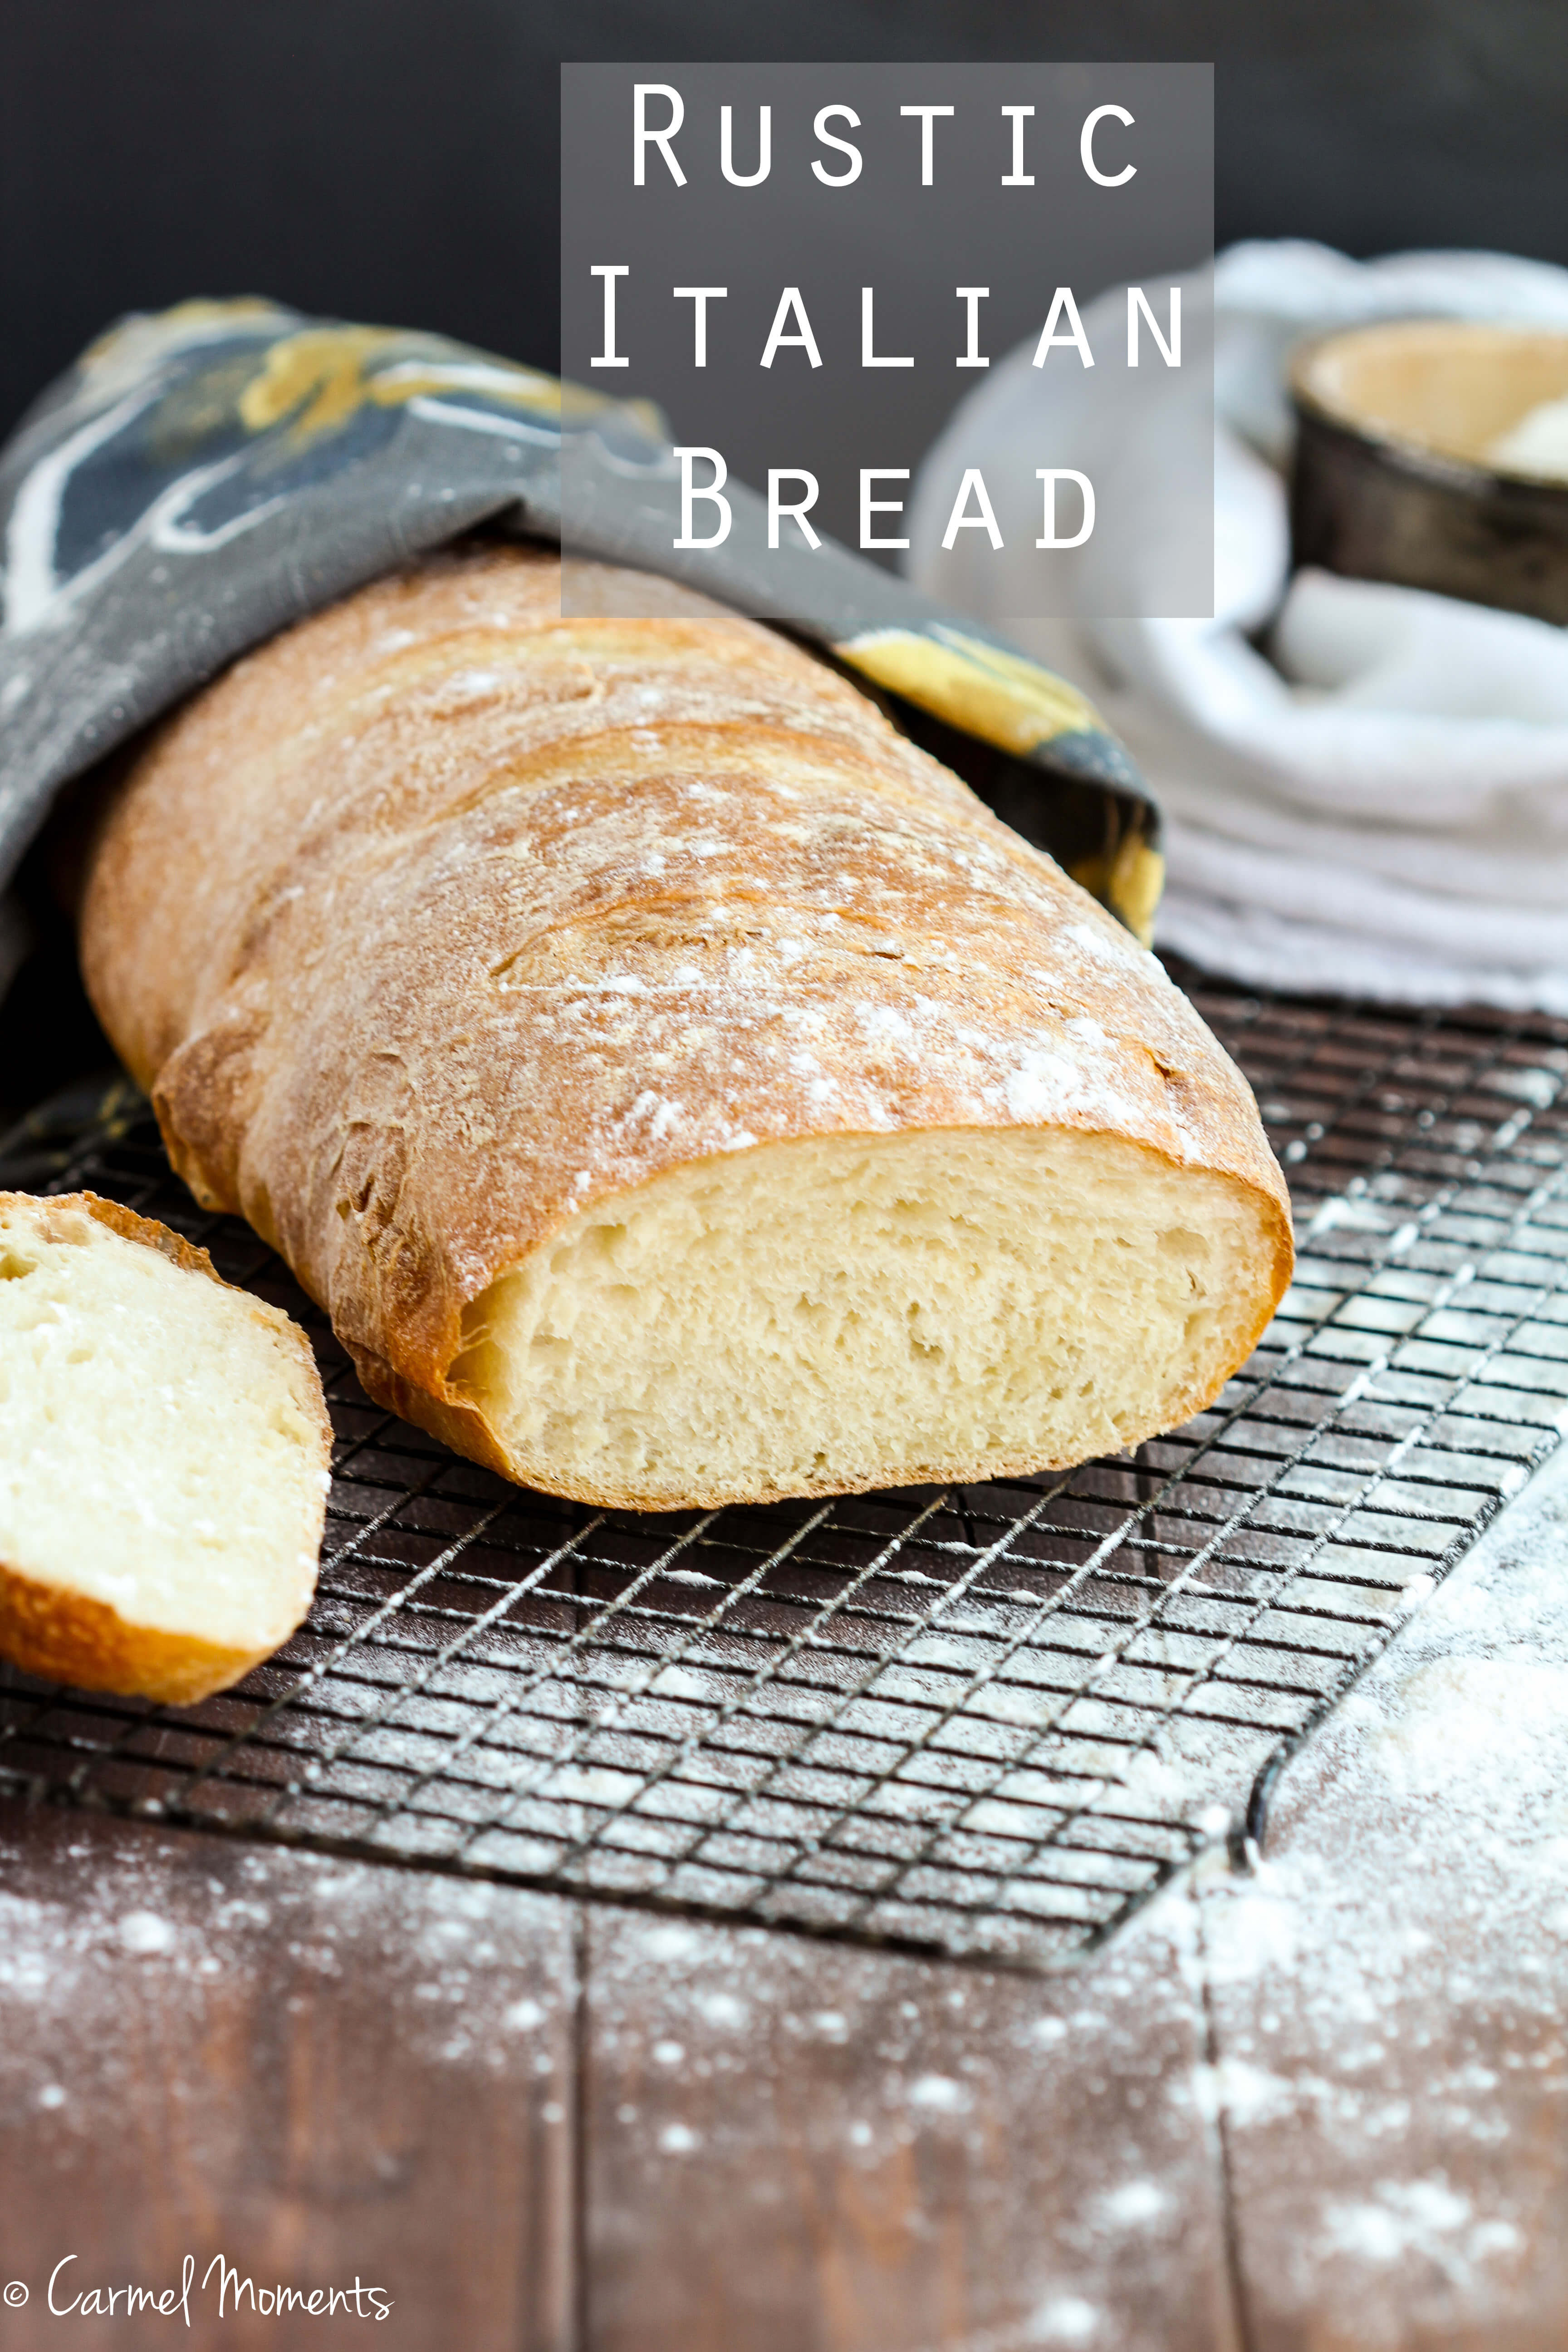
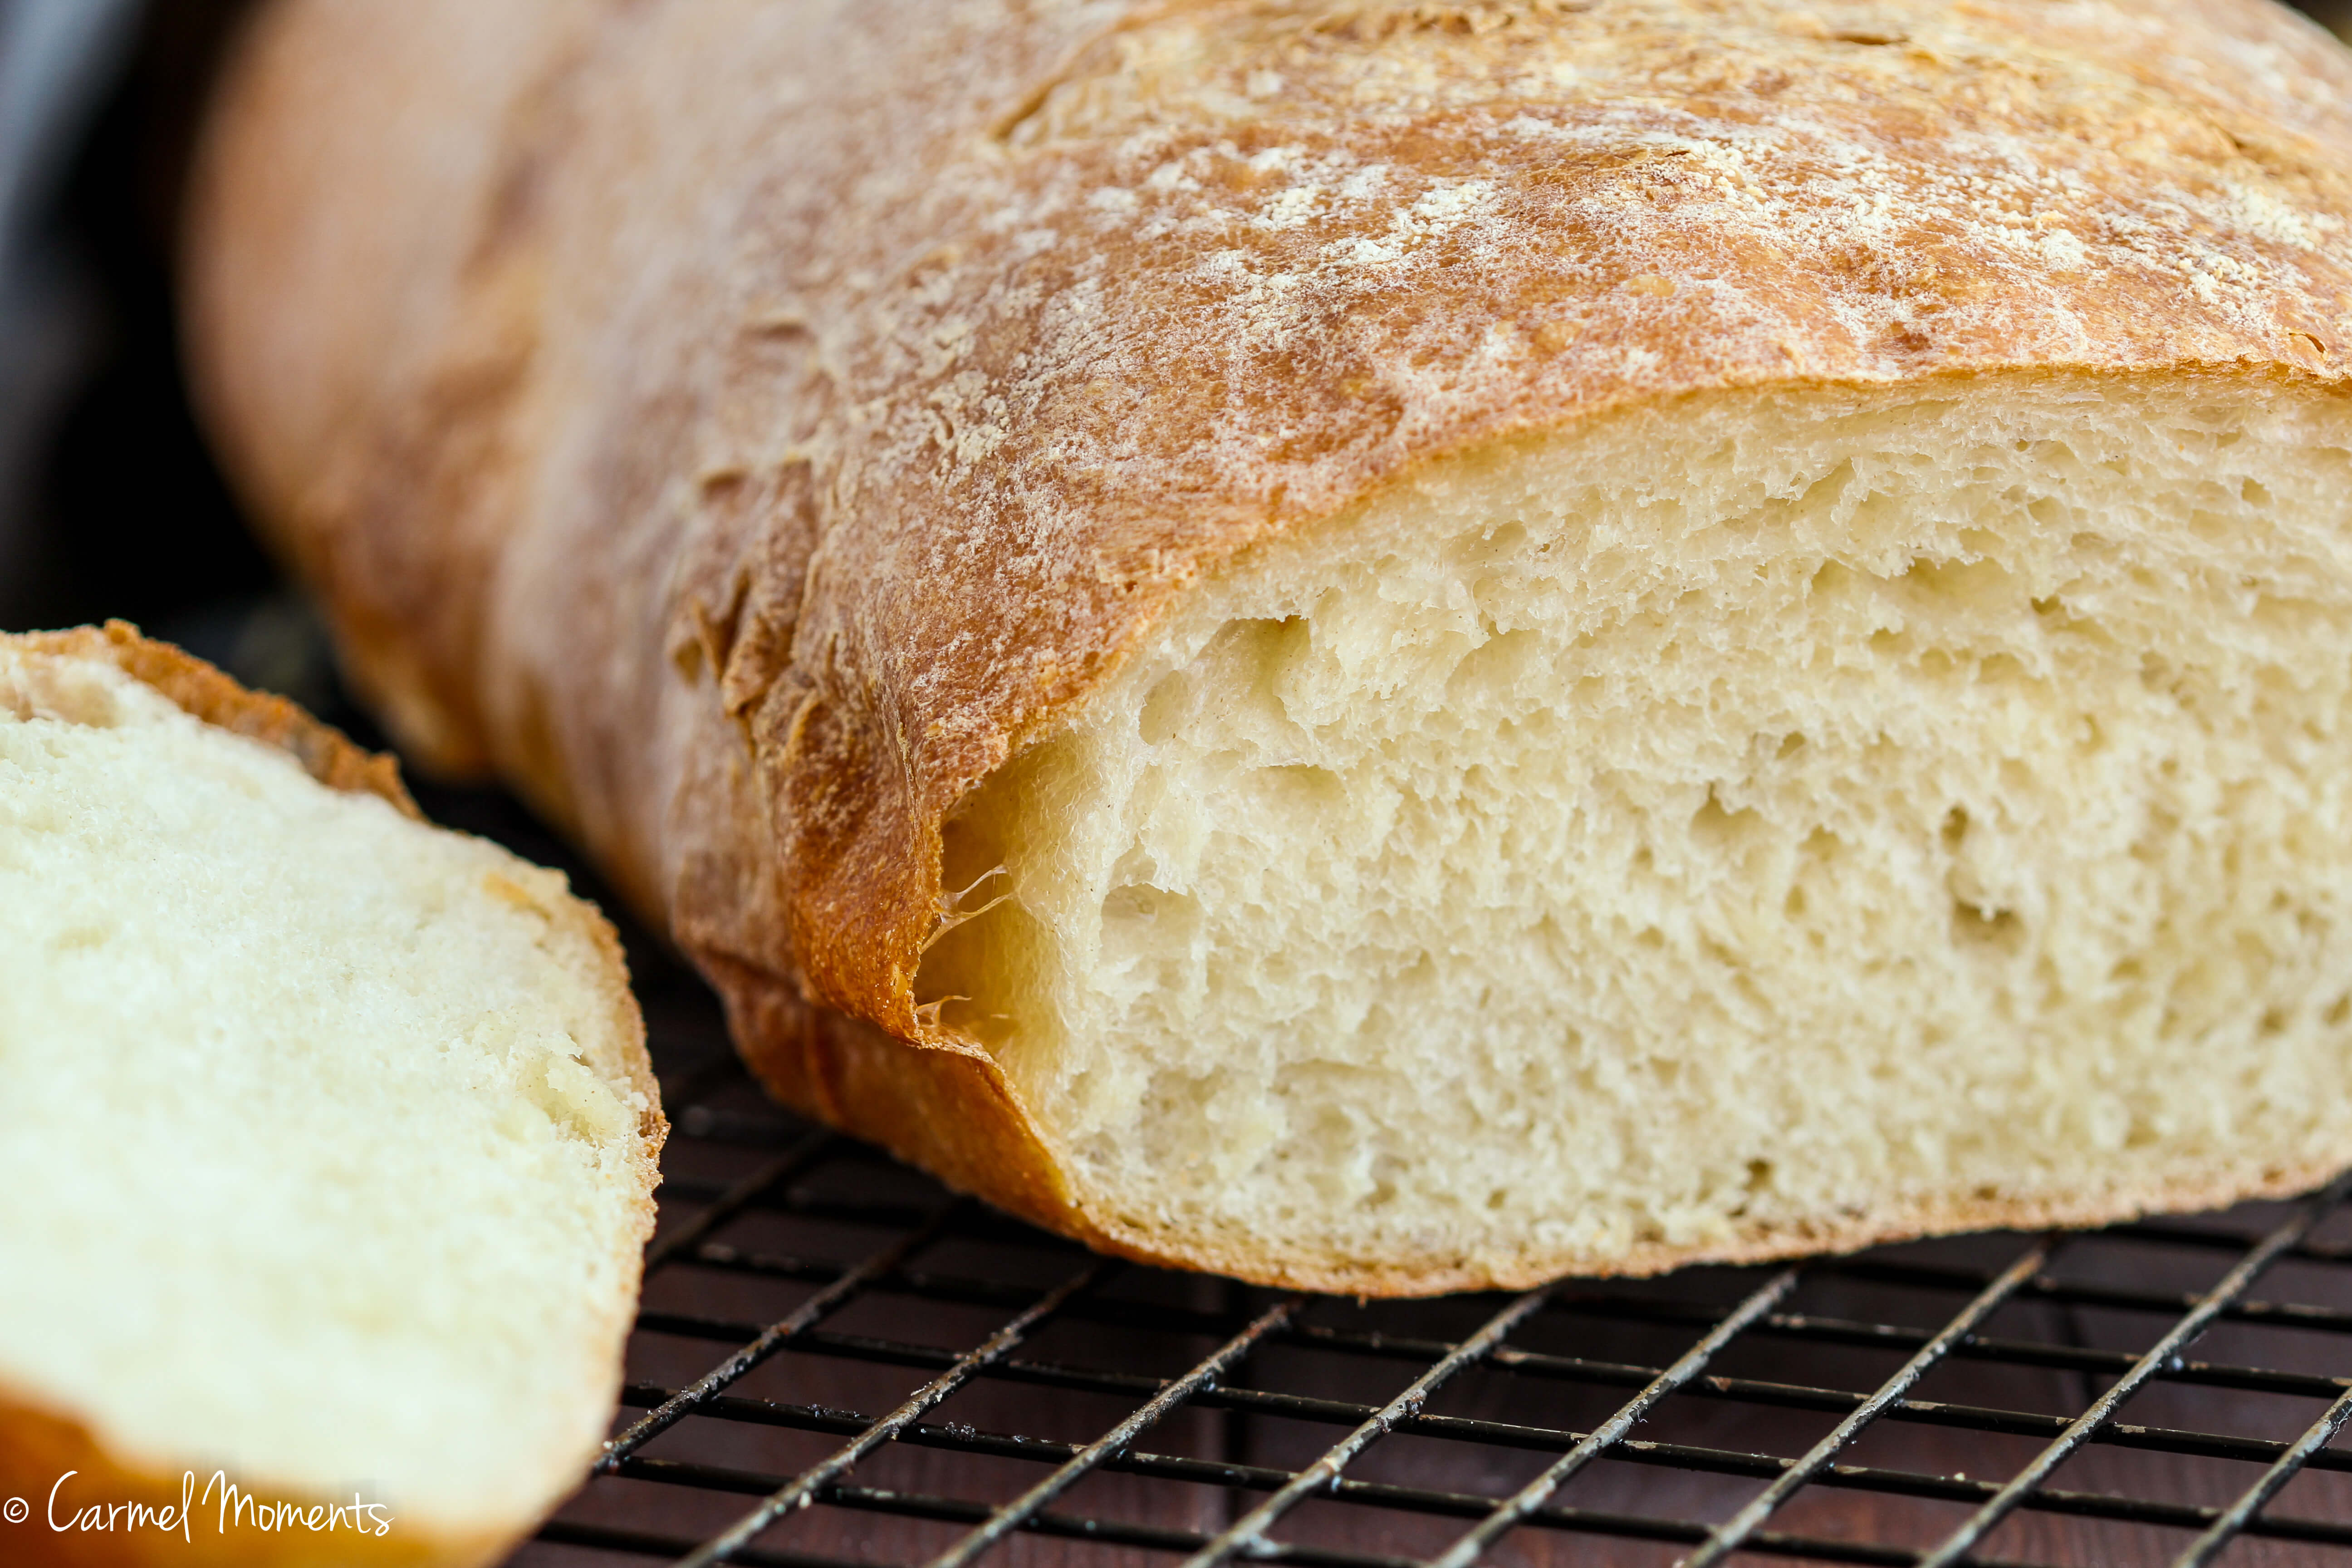
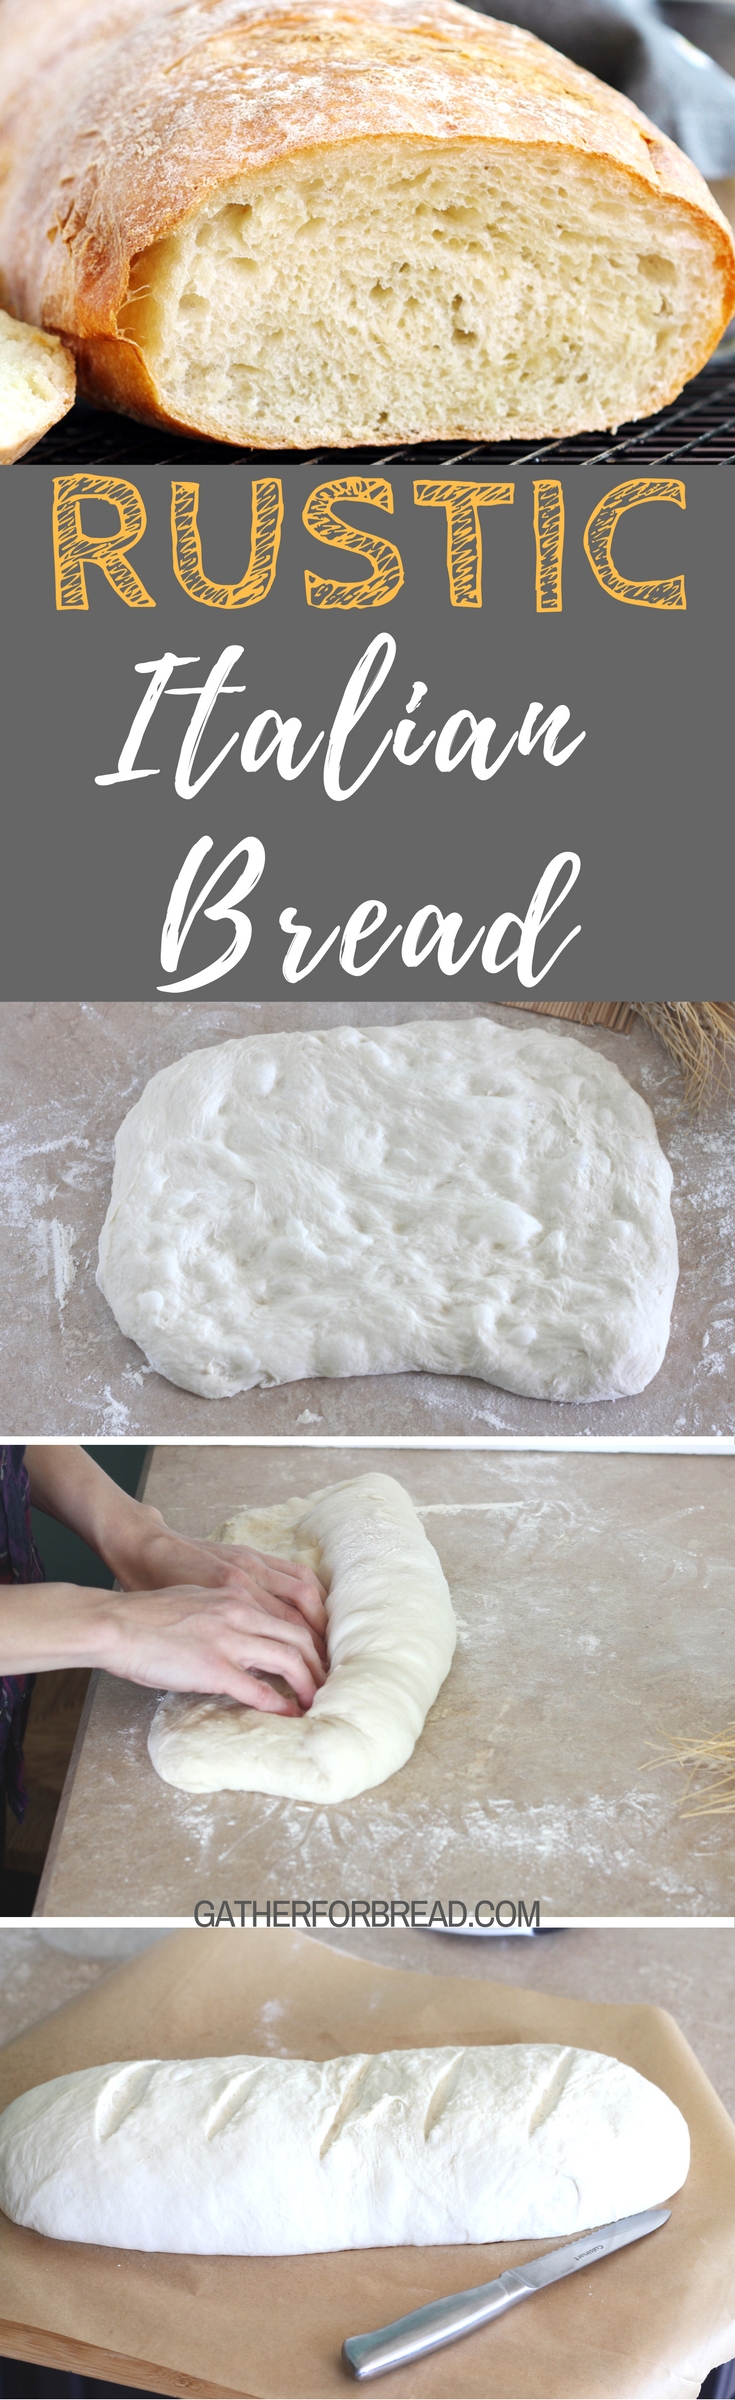
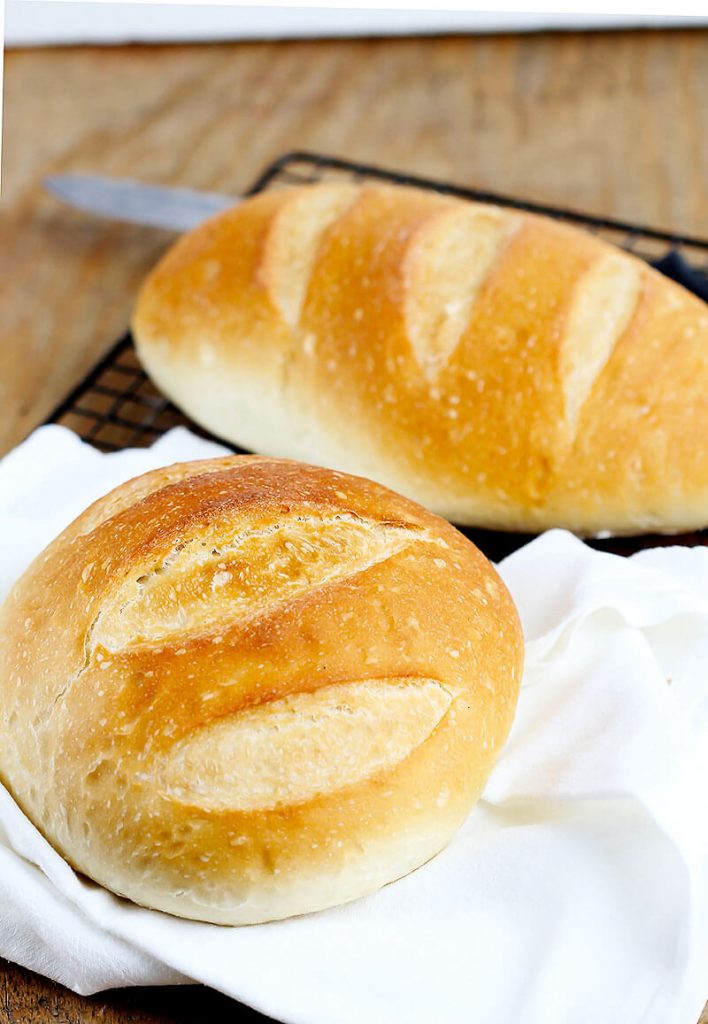
Rustic Italian Bread – How to make crusty homemade Italian bread loaf. Tender crumb, crisp crust. Perfect pasta, soup and Sunday dinner.
Can you believe I haven’t brought Italian bread to the blog yet? I certainly can’t. My bread recipe index is growing quickly and it is high time that we added Italian bread to it. No bakery is complete without Italian bread.
And no meal is complete without a loaf of bread. Well, that’s just my opinion. Maybe you don’t share it but seriously don’t you just love the warmth and the taste that a fresh loaf brings to every meal? It’s just so rich and satisfying.
It takes me back to those days with Jesus. The bible quotes: ” Every day they continued to meet together in the temple courts. They broke bread in their homes and ate together with glad and sincere hearts.” I just love that vision. And it’s what I base my bread love around. Gather and share and enjoy. It’s just perfect!

And so is this loaf! I love how easily it can together and it had a superb flavor. Next time I may add some cornmeal to the bottom because I love how that adds a distinct taste.
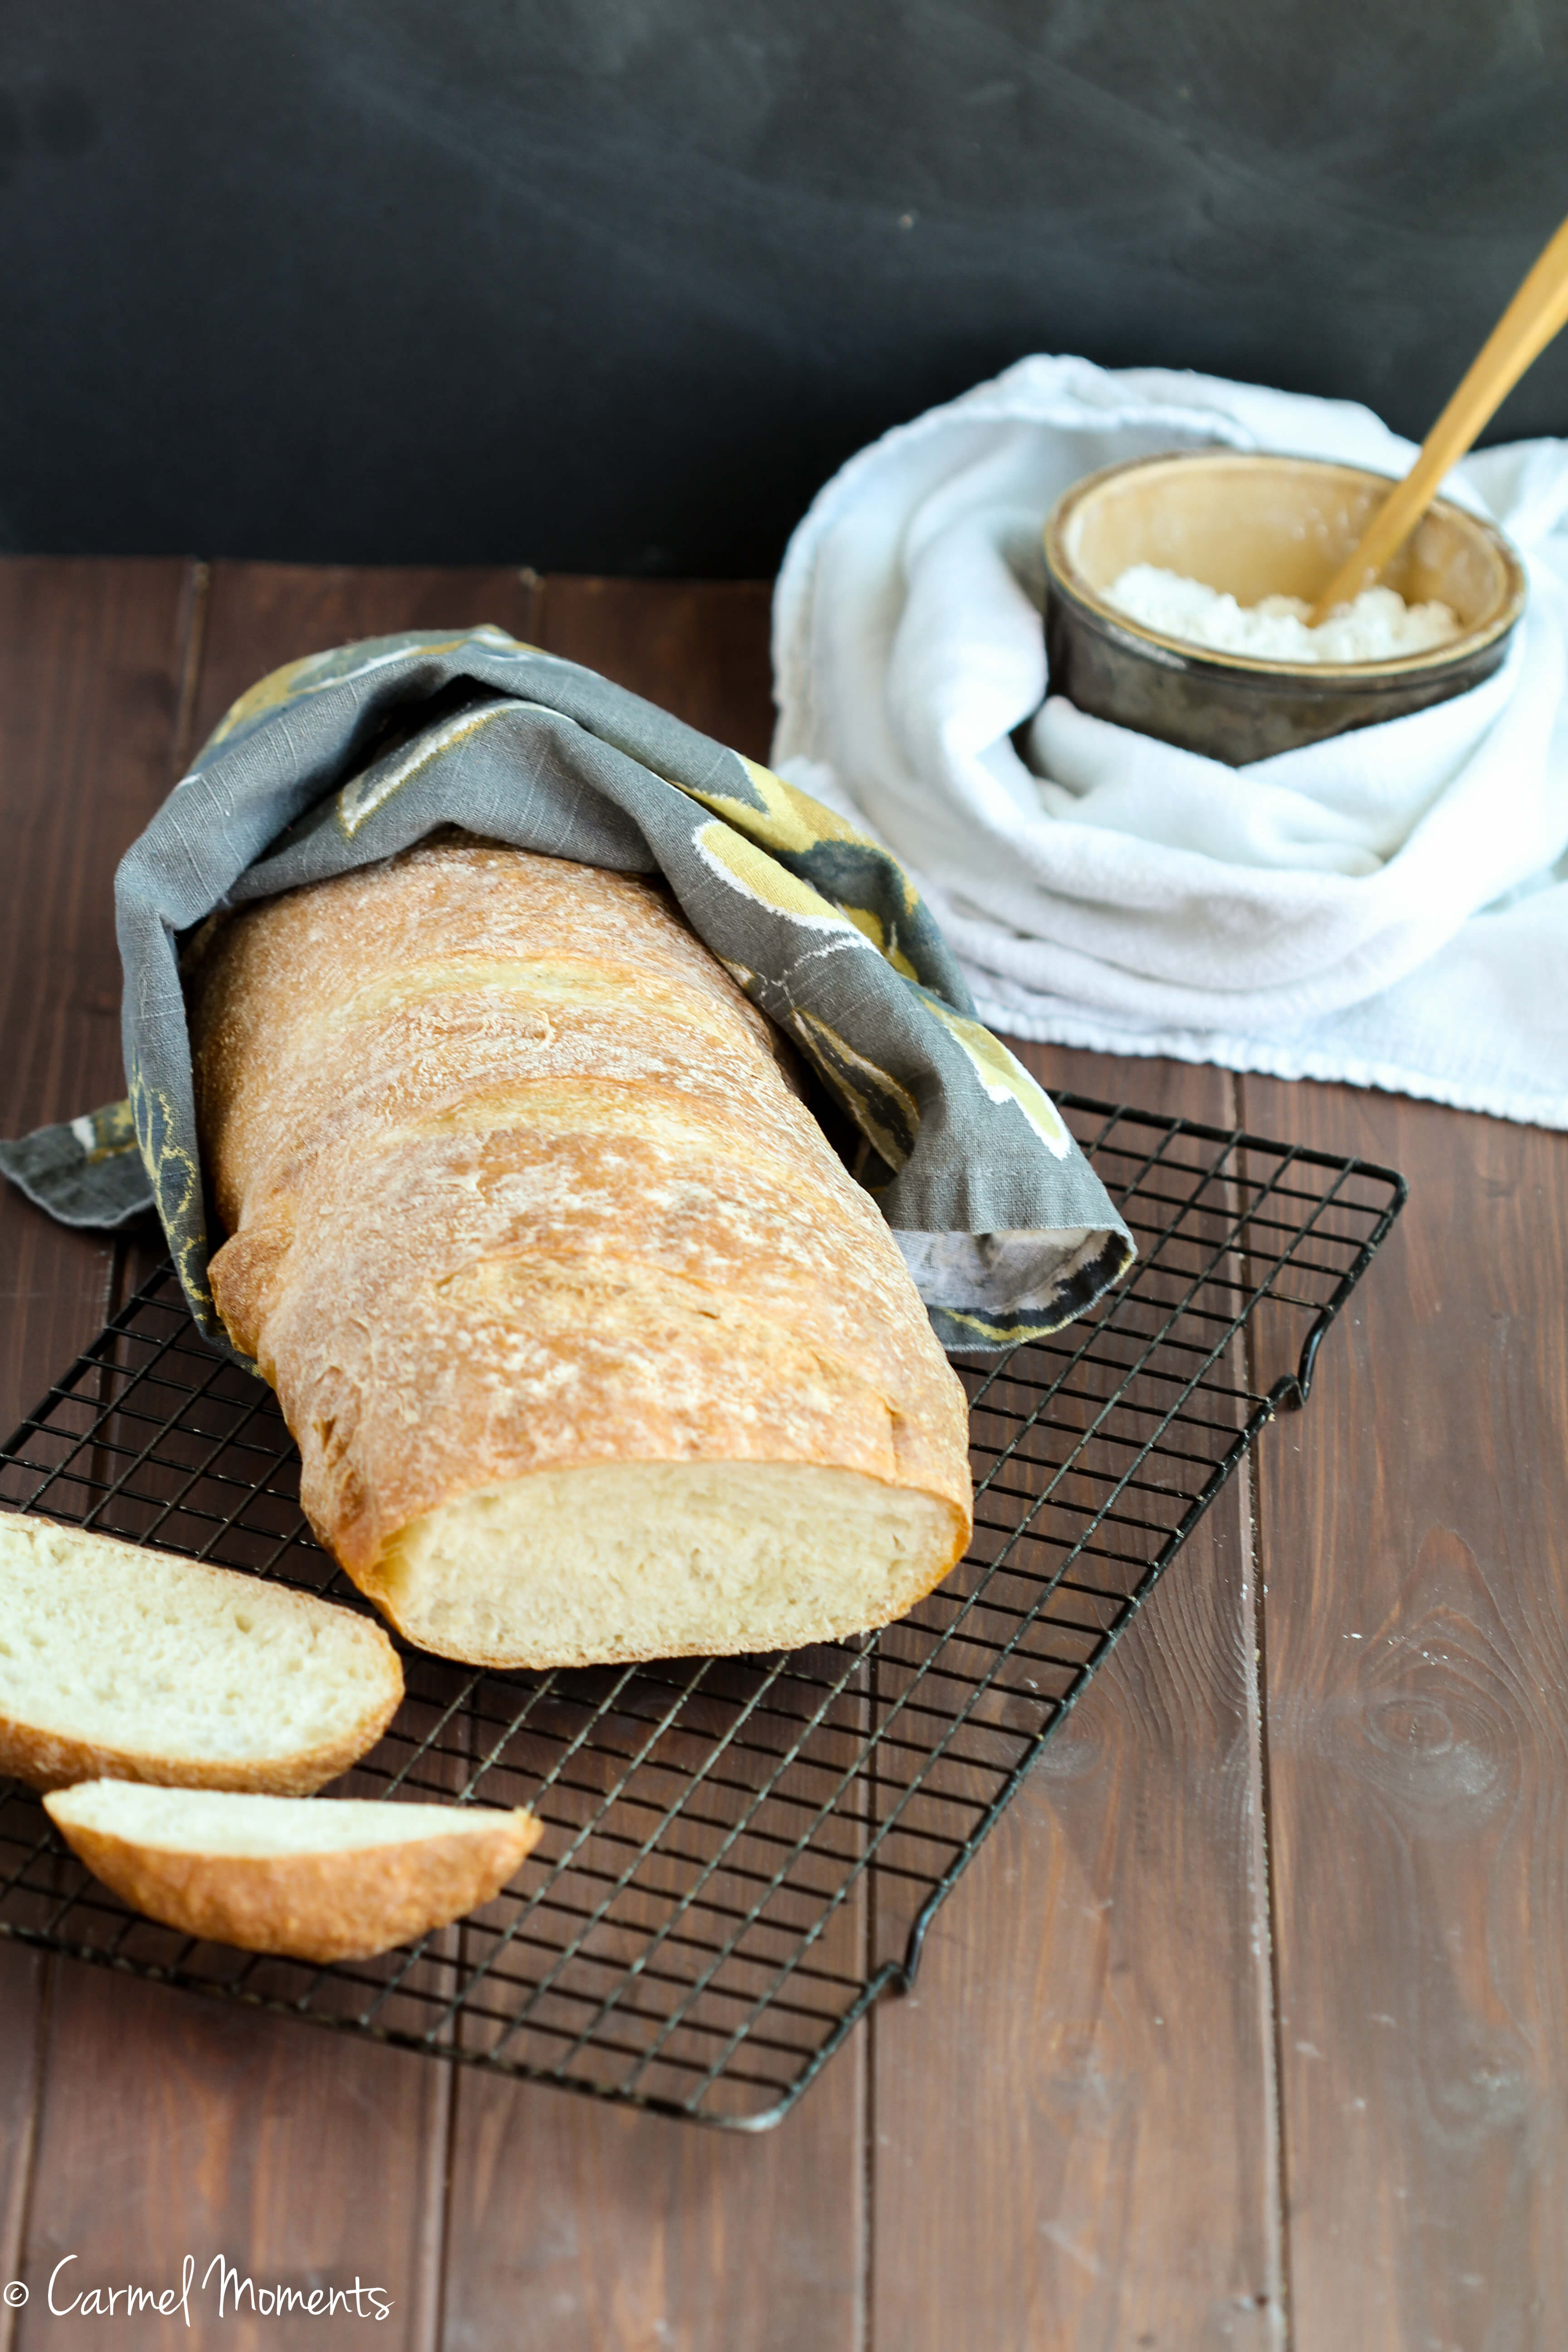
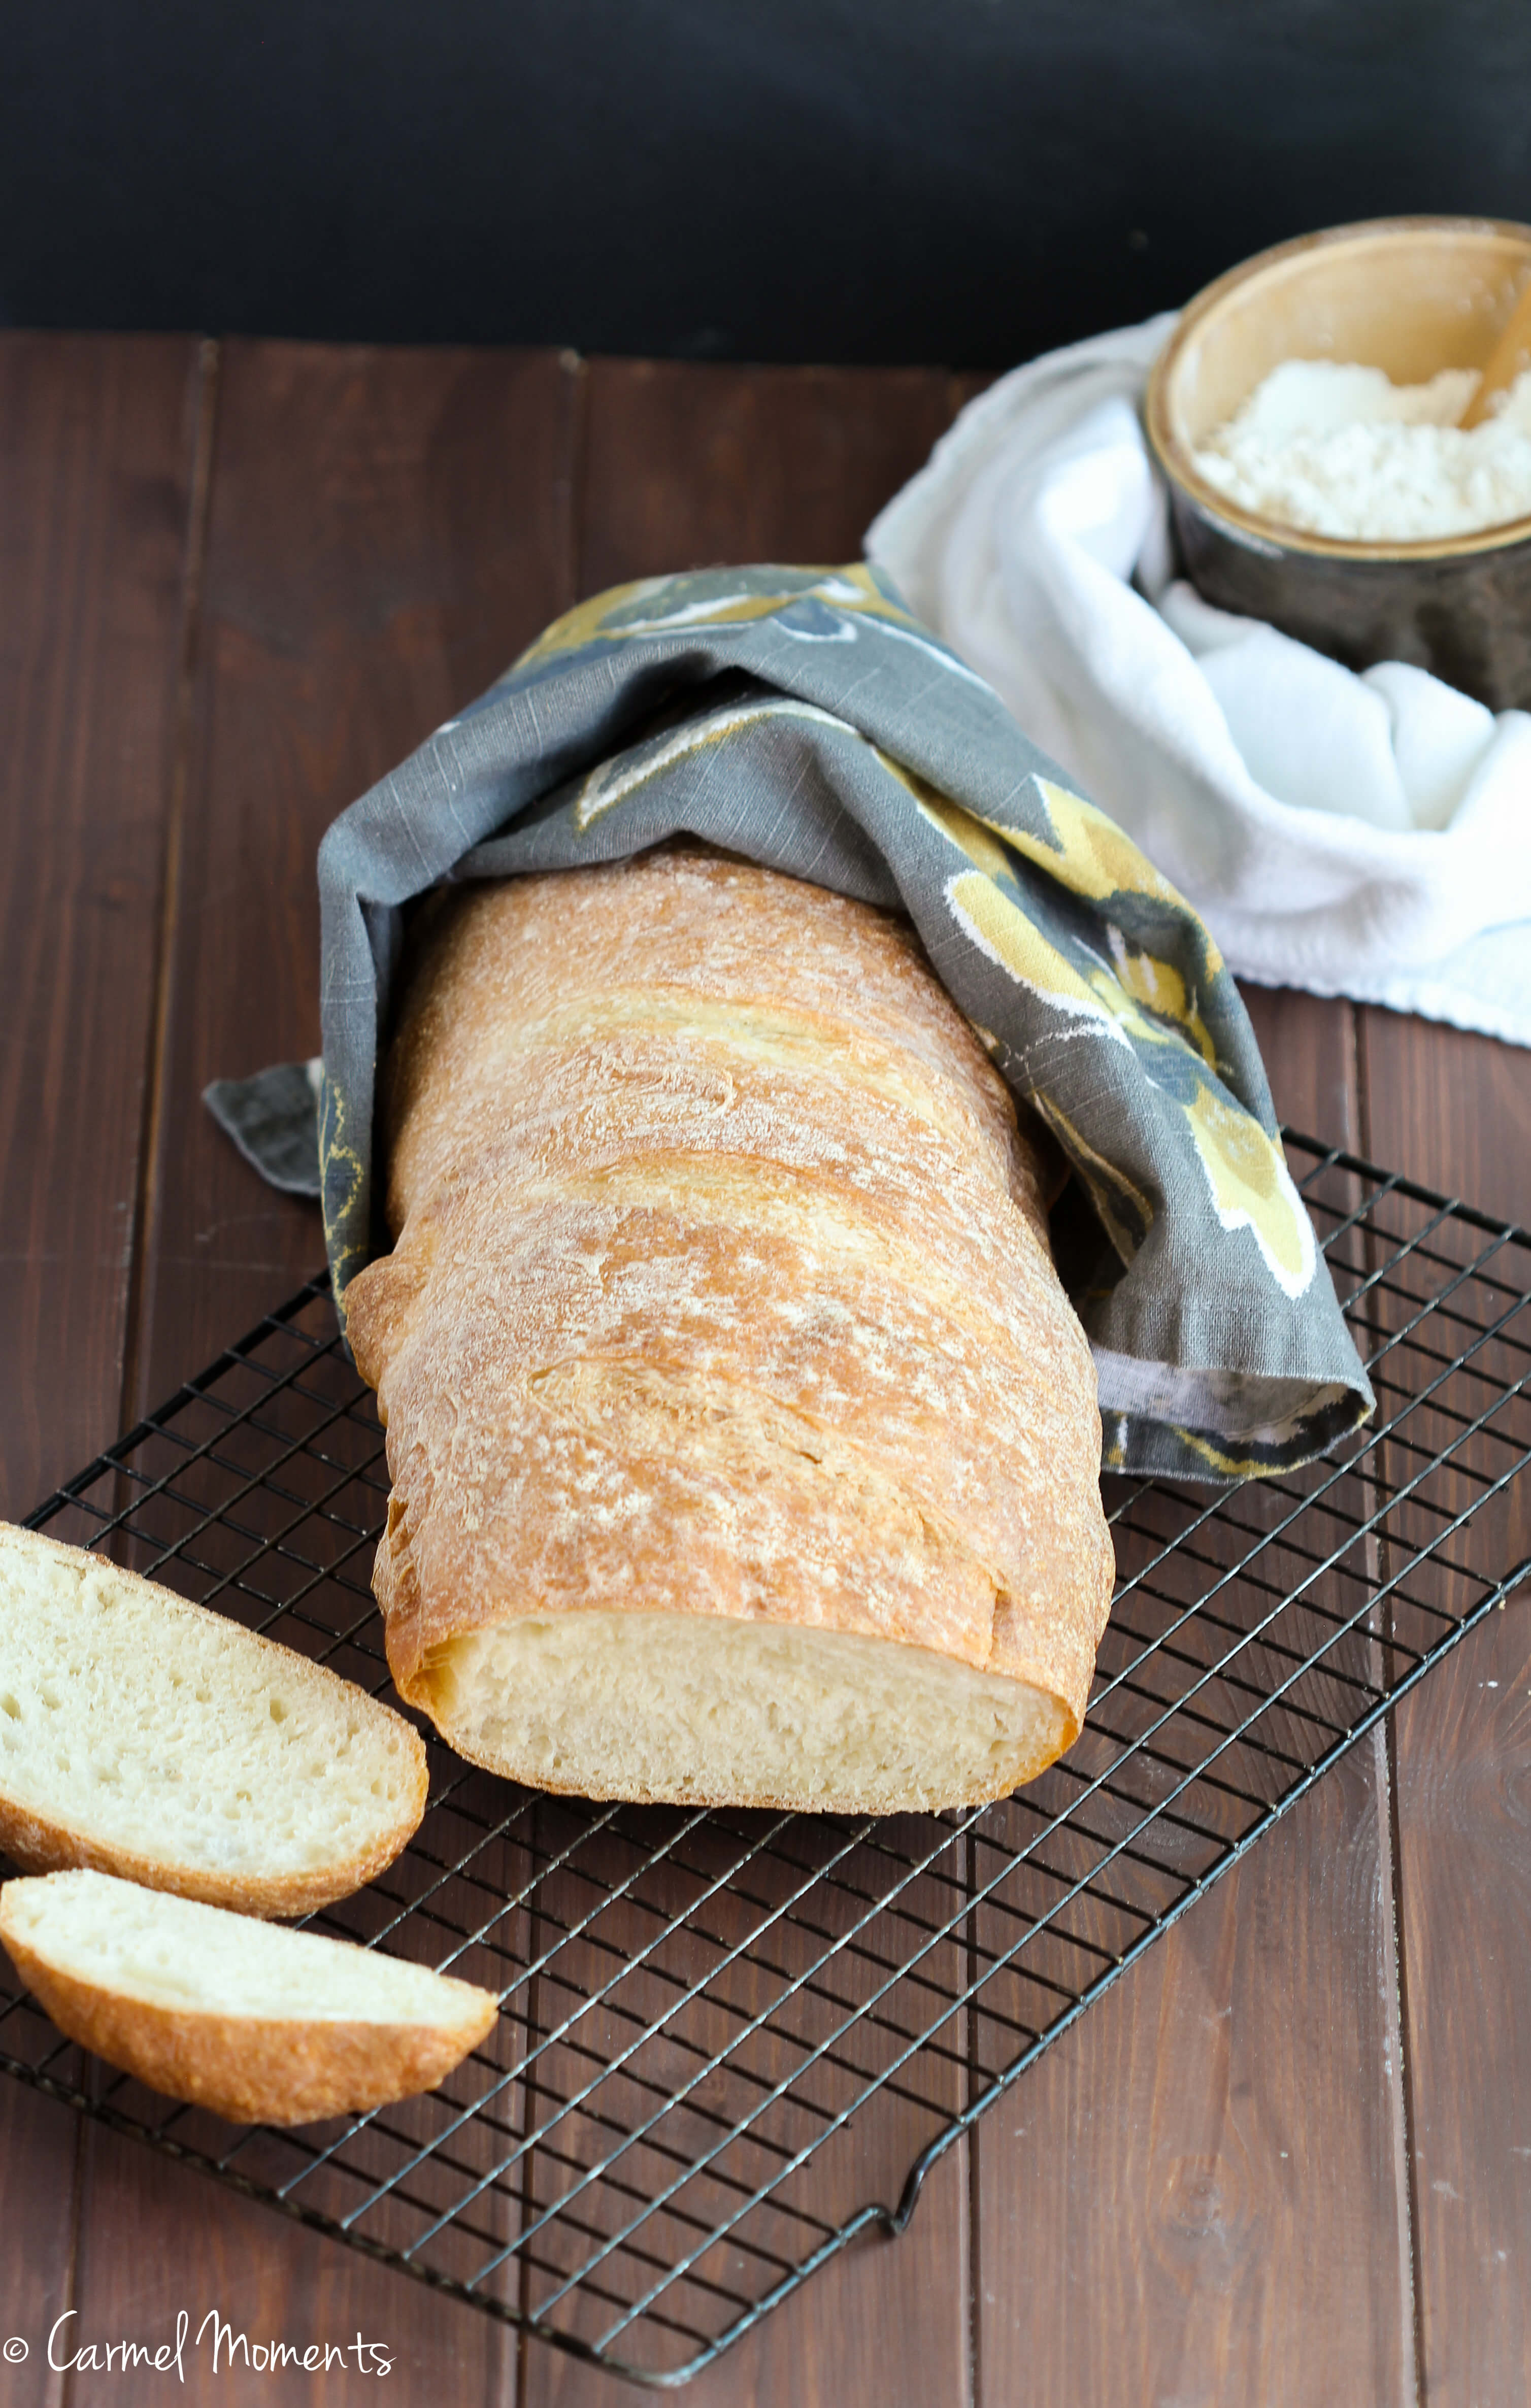
You’ll definitely want to give this Rustic Italian Bread a try. It’s hearty, large enough to share and a great flavor. Enjoy it friends! We certainly did.
Til we meet and eat again,

FOLLOW ALONG: Gather for Bread
| PINTEREST | INSTAGRAM | FACEBOOK | SNAPCHAT: @GATHERFORBREAD |
Be sure to sign up for our emails so you don’t miss the latest recipes! ⇒ Sign up here. ⇐
This post contains affiliate links. If you click and purchase we get a small portion to help support our blog.
Tools to help make this recipe:
Print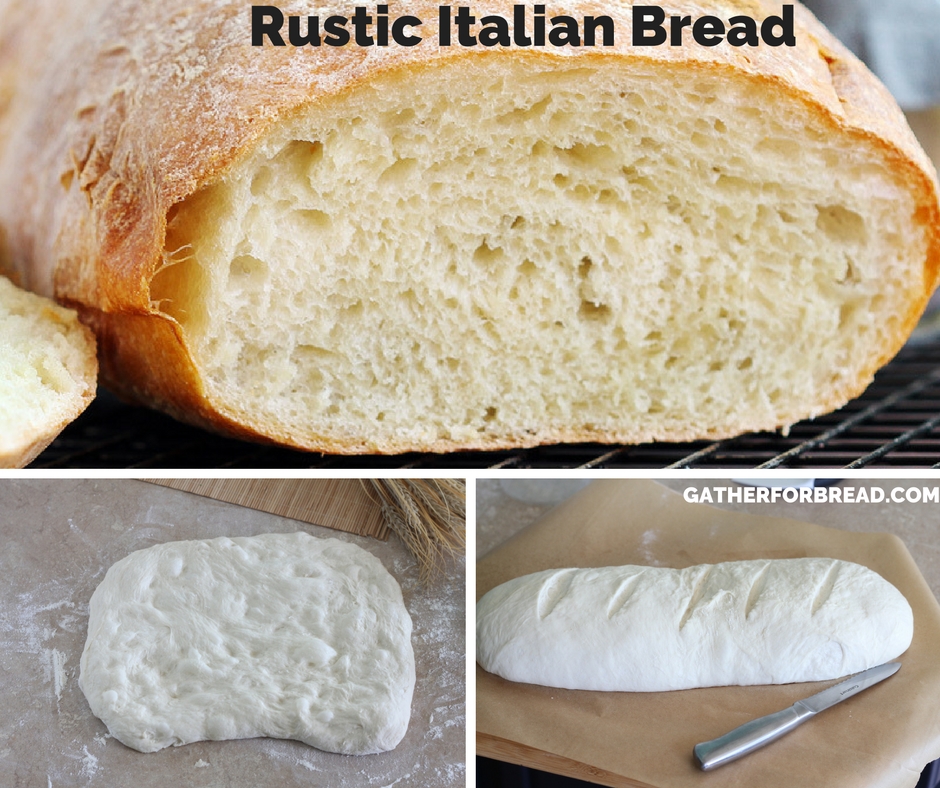
Rustic Italian Bread
- Total Time: 30 hours 35 minutes
- Yield: 1 large loaf 1x
Description
How to make crusty rustic homemade Italian bread loaf. Tender crumb, crisp crust. Perfect with pasta, soup, and Sunday dinner.
Ingredients
For the sponge:
- 2 cups bread flour
- 1 cup warm water
- 1/4 tsp instant yeast
For the dough:
- 3-3 1/2 cups bread flour
- 1 tsp instant yeast
- 1 1/4 cups warm water
- 2 tsp salt
Instructions
To make the sponge:
- Mix the flour, water, and yeast in a medium bowl. Sit until it resembles dough. Cover with plastic wrap and let sit (dough will rise and fall) at room temperature for 6 to 24 hours.
To make the dough:
- Combine 3 cups bread flour and yeast in the bowl of your stand mixer. Using the dough hook, turn the mixer on low and slowly add the water while the mixer is running. Let this mix for 2 minutes until the dough starts to come together. Lift the head of your stand mixer and place a piece of plastic wrap tightly over the bowl. Let the dough rest for 20 minutes.
- After the 20 minute rest, remove the plastic wrap. Add the sponge and salt. Knead on low speed for 8 minutes. After 4 minutes, if the dough is sticking to the side of the bowl add the last 1/2 cup of flour a little at a time. The dough should slap the sides of the bowl but still stick to the bottom (you do want it to stick to the bottom). Turn the dough out onto a lightly floured surface and form into a smooth round ball.
- Place the dough in a large, lightly oiled bowl, and cover tightly with greased plastic wrap. Let the dough rise in a warm spot until doubled, about an hour.
- After the dough has doubled, remove the plastic wrap. After the dough has risen for about an hour, it’s time to start turning it. Slide a plastic bench scraper or rubber spatula under one side of the dough; gently lift and fold a third of the dough toward the center.Let rest for 30 minutes.
- Repeat the previous step after the 30 minutes are up and then let it rise for a second 30 minutes.
- After the second 30 minutes of rising, it’s time to form the loaf. Remove the dough from the bowl and gently press it into a 10-inch square. Gently dimple it. Fold each corner diagonally into the middle. Using your fingertips and starting at the top of the dough, pull the underside of the dough up over the top, stretching it considerably, and begin to roll the dough up into a rough log. With each roll, press the seam firmly to seal. Continue to do this, forming the dough into a fairly tight log, 5 to 7 more times.
- Place the dough, seam down, on a rimless baking sheet (or one that is upside-down) that is lined with parchment paper. Gently tuck the dough into place on the parchment. You should end up with a long thin loaf that is 16 inches long. Transfer dough to parchment lined inverted baking sheet or parchment lined pizza paddle.
- Finish shaping the loaf into a taut 16-inch-long torpedo-shaped loaf by tucking the edges under with your hands. Lightly mist the dough with oil and cover loosely with plastic wrap. Let the dough rise in a warm place until doubled, 1 to 1 1/2 hours.
- While the dough is rising, prep the oven and your baking stone. Preheat the oven to 500 degrees. Let the baking stone heat for 30 minutes (but not longer than an hour).
- When the dough has doubled, score the top with a lame diagonally and 1/2 inch deep and spray lightly with water. Carefully slide the loaf and the parchment onto the hot baking stone in the oven. Bake for 10 minutes.
- After 10 minutes reduce the oven temperature to 400 degrees. Bake for 30 to 35 more minutes until the crust is a deep golden brown. Let the loaf cool completely on a wire rack until it is room temperature. (about 2 hours cooling time) Serve and enjoy
- Prep Time: 30 hours
- Cook Time: 35 minutes
- Category: Yeast Bread
Recipe from: America’s Test Kitchen & Bless This Mess
You may also like:
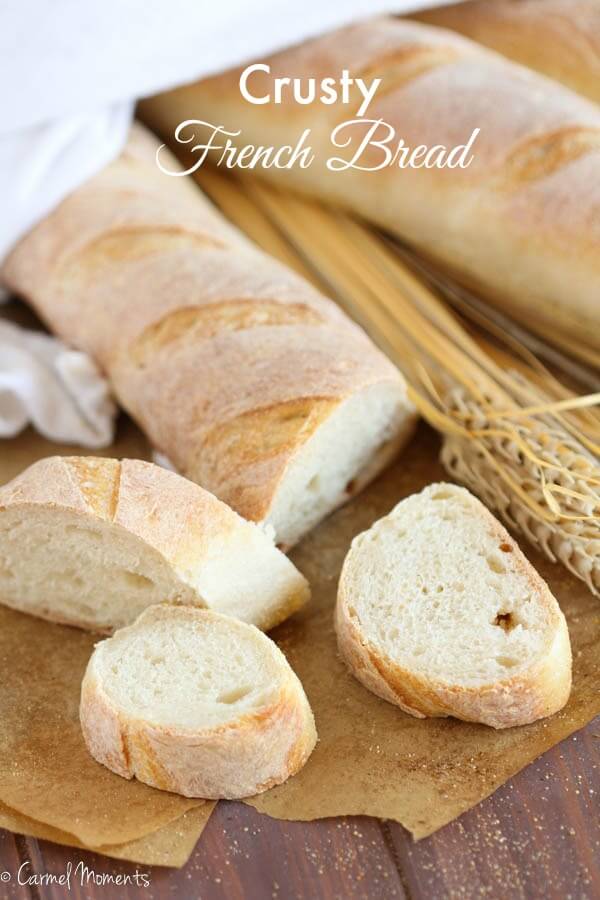
Crusty French Bread
Easy Perfect Yeast Bread
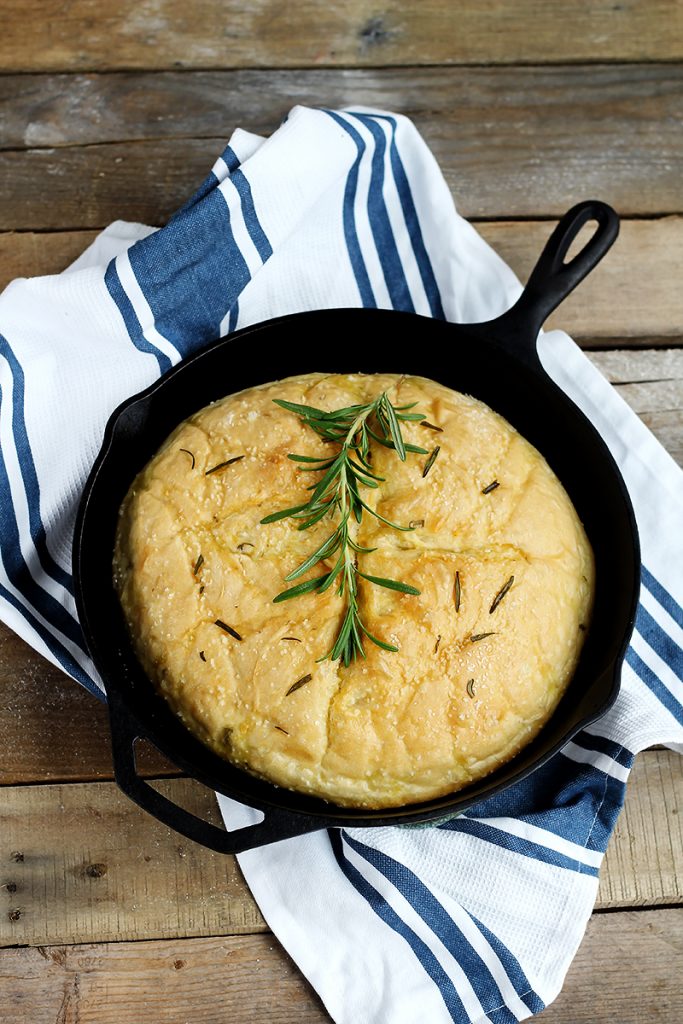
Rosemary No Knead Skillet Bread

This looks like the perfect bread, Melanie! This would definitely pair perfectly with some soup or a salad. Pinned!
This is one stunning loaf, Melanie! Your breads really do make me drool every time! You’re truly the master of all dough. LOL. This would go so great with spaghetti night!
I’ve said it before, but you are the baking QUEEN! This bread looks fantastic. Can’t wait to make it : )
The bread queen is at it again! You always make the most perfect bread. I love Italian and that crisp crust looks amazing!
What a gorgeous loaf Melanie! My daughter and I used to bake bread all the time – up until about a year ago – I need to try making this with a gluten free flour sometime – this is absolutely perfect!
Italians know their stuff about bread! Love this recipe, thanks for sharing it with us 🙂
I can never turn down homemade bread, Melanie — this looks amazing! 🙂
Such a gorgeous loaf!!
Oh man, I love bread. Especially crusty, chewy bread perfect for dipping! Looks amazing!
Mine is in the oven right now! Looks beautiful!
That’s awesome Maria! Hope it turns out well for you.
Ummm…I believe you copied this recipe from Americas test kitchen
Yes, I did. It’s noted directly below the recipe. Anytime I post a recipe from another source i always mention that source.
If I wanted to use this recipe for torpedo rolls what would the cooking time be as the rolls wood be smaller?
I’ve never tried that Annette so I can’t give you accurate info. If you try it with success let us know. Have a great day!
I am new to bread baking, like just baked my very 1st ever load today new, lol, so I love that I found your site!!! I’m confused tho…what is the difference in active and instant yeast??? Also bread flour and AP flour?
Great questions Sandra! The difference between active yeast and instant yeast: Active yeast should be ‘proofed’; put into warm water (about 110 degrees) with a teaspoon of sugar before adding to dry ingredients. Instant yeast should result in quicker rise than the active yeast.
Bread flour vs all-purpose flour is a difference of protein. Bread flour has higher protein content. This results in a chewier loaf that holds it’s shape a bit better but both produce great results for traditional loaves.
Good luck with your next loaf. Let me know if you have other questions. Thanks!
Love this bread. I will be making it again….. soon
Glad to hear Kathleen. Happy you took the time to write. Have a great day!
I plan on prepping communion on Sundays during Lent this year. Can’t wait to try this recipe. thanks!
Ok so I am a newbie. What is the sponge recipe for? Im a bit lost
The sponge is a starter that you make ahead. It gives the dough added flavor.
Absolutely the best bread ever!!!!!
That’s so great to hear Lauralee! Thank you!