This site may contain links to affiliate websites, and we receive an affiliate commission for any purchases made by you on the affiliate website using such links.
Last Updated on April 3, 2026 by Melanie
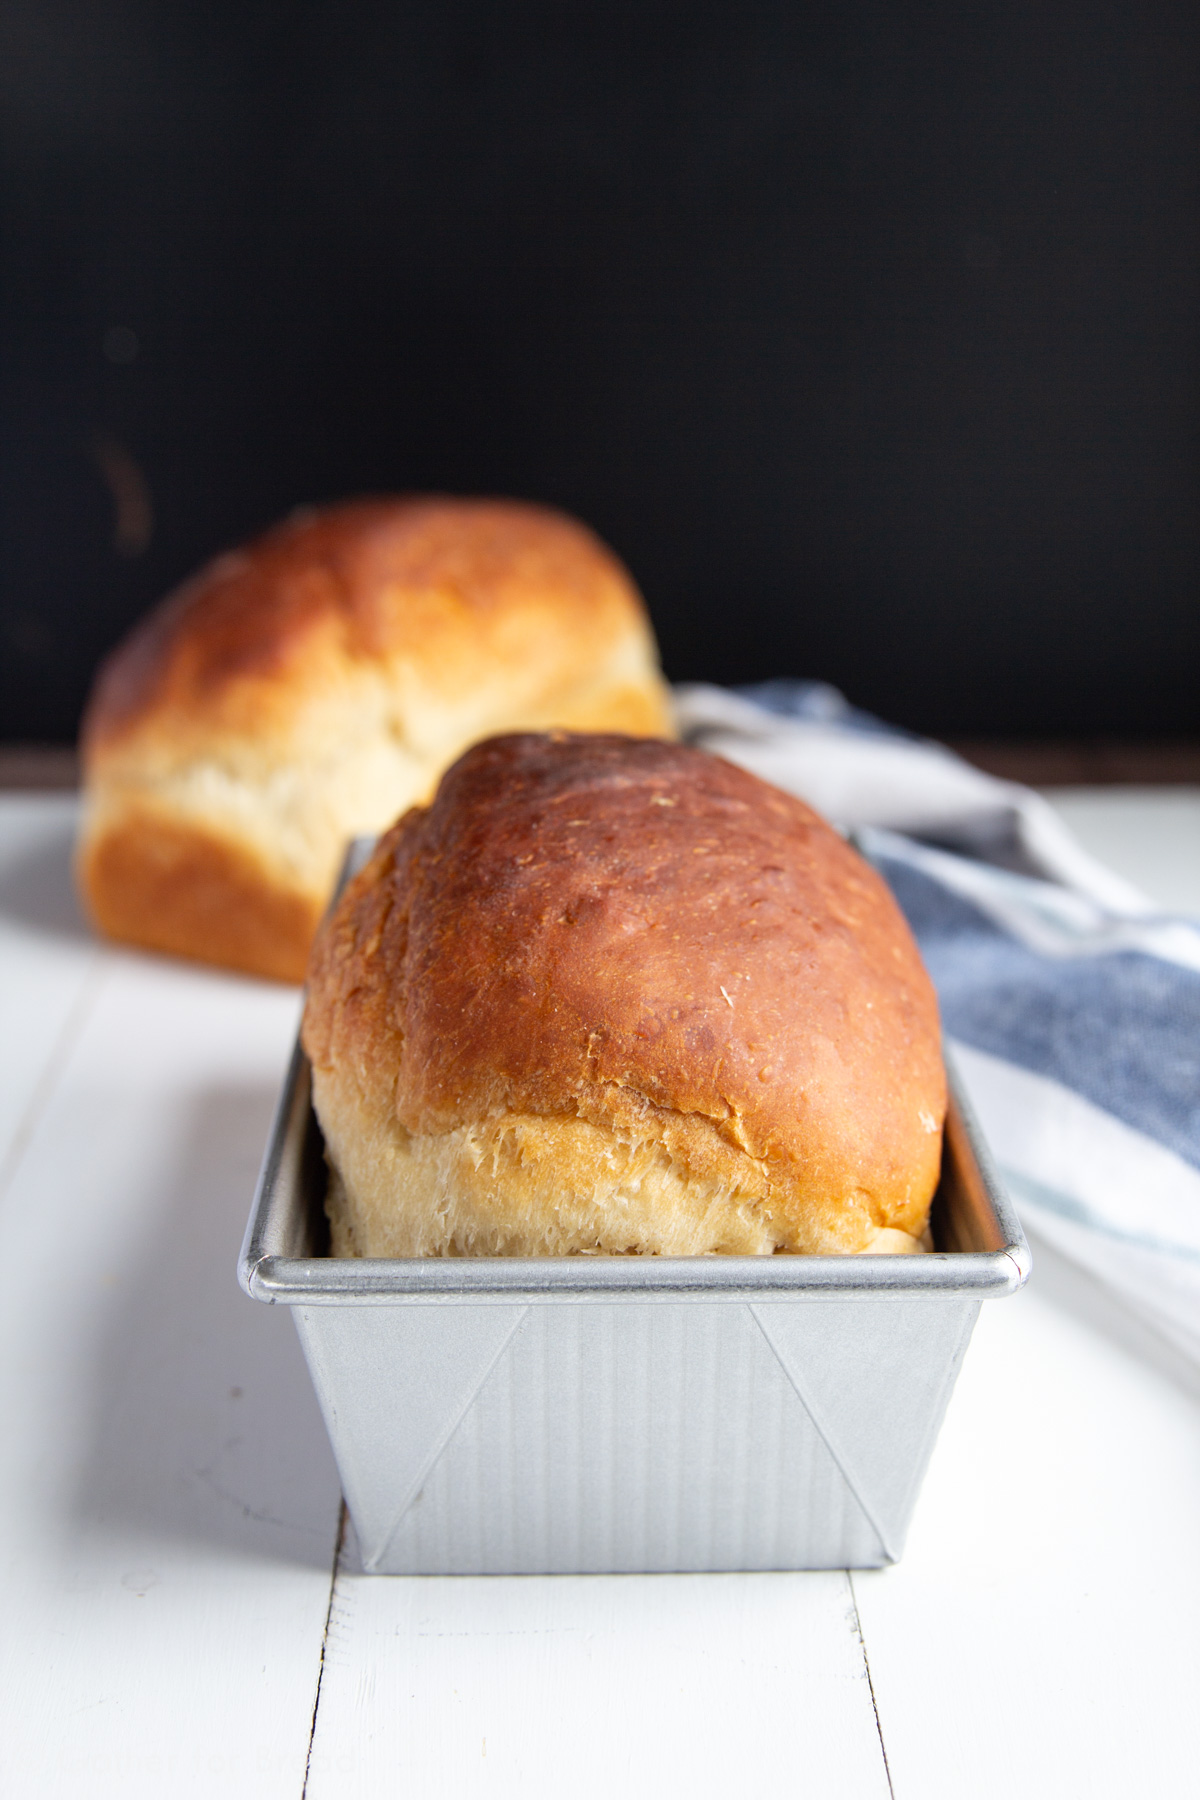
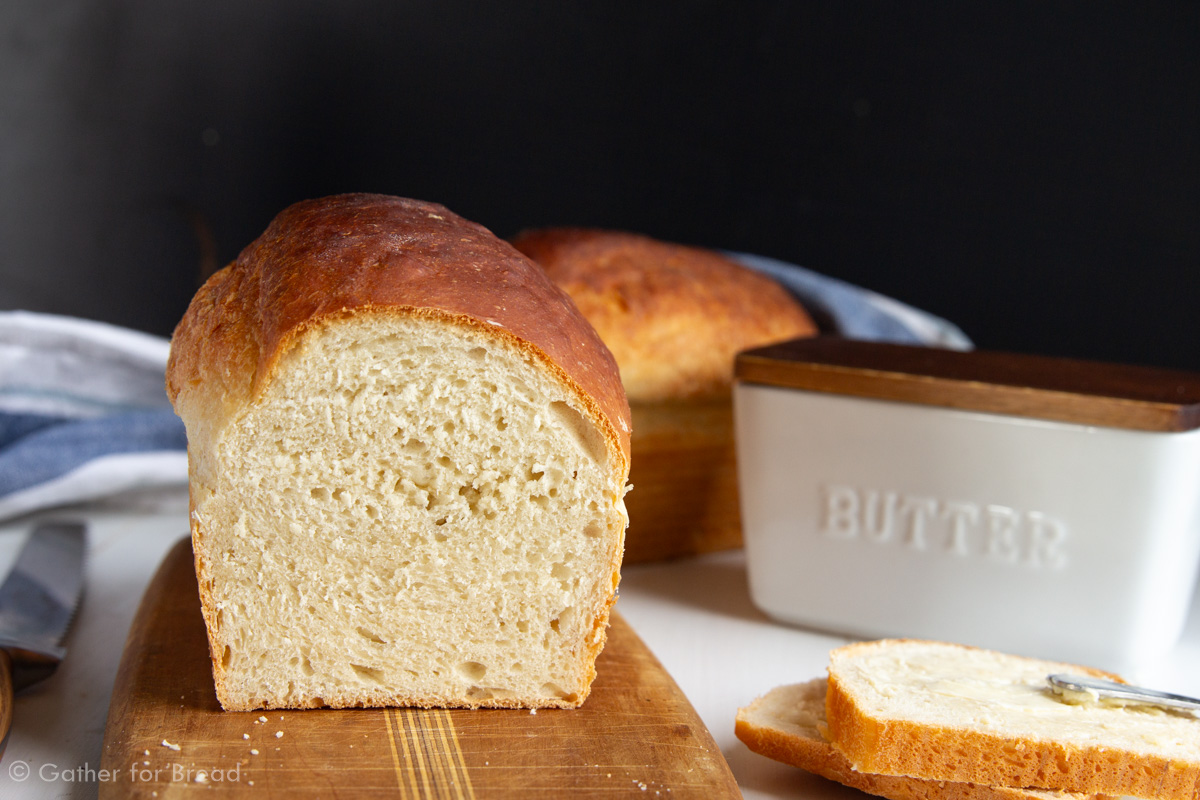
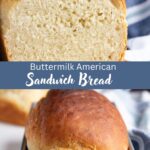
Buttermilk American Sandwich Bread – Homemade American Sandwich bread made with real fresh ingredients like buttermilk, honey and butter. This made-from-scratch dough makes a perfect slice for sandwiches and toast.

Wondrously soft and fluffy. Made with Buttermilk and honey, this loaf makes amazingly soft slices, perfect for sandwiches and smearing with jelly!
FEATURED COMMENT
“The best loaf of bread I’ve ever eaten. I’ve made this recipe so many times. 100 stars”
Why choose this recipe over other sandwich loaves?
If you’re aiming to try a new sandwich bread loaf, look no further. It’s got several reasons to try this recipe!
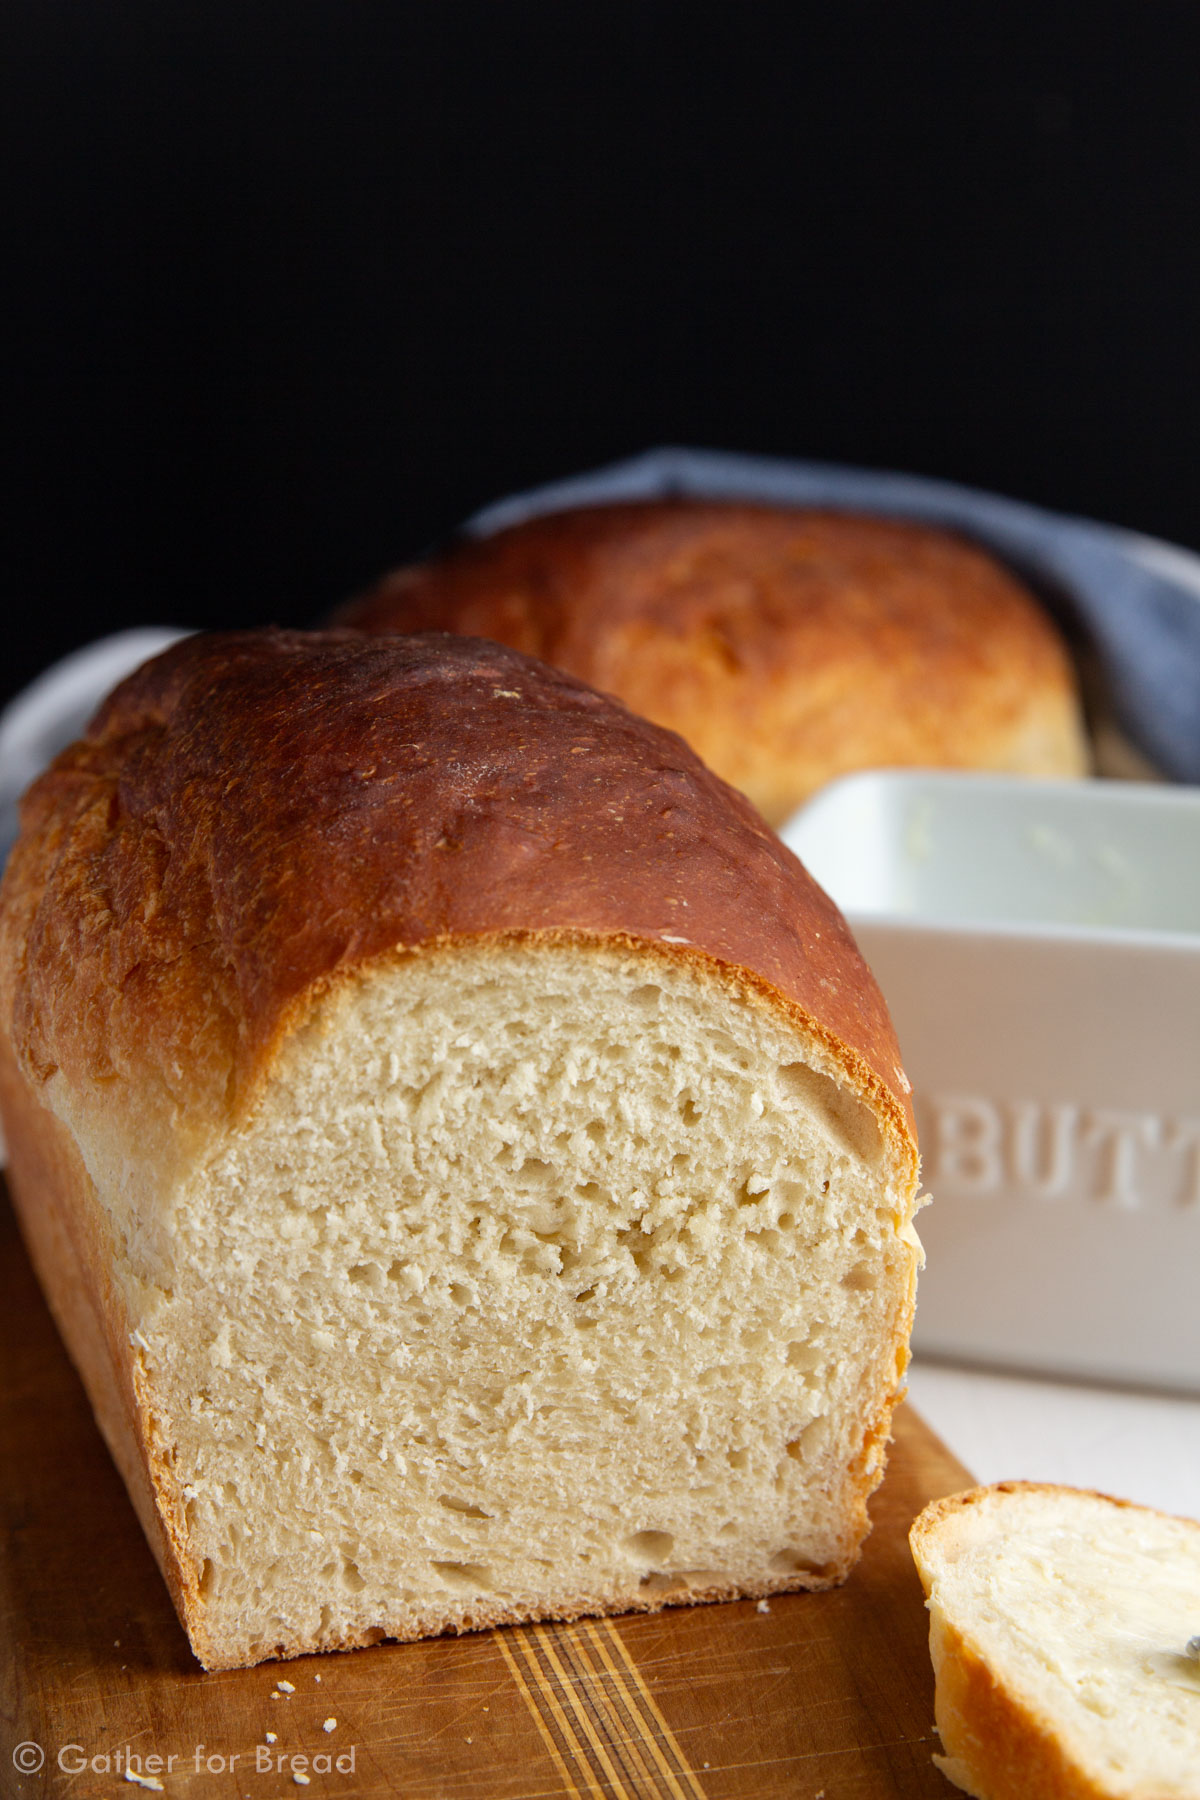
- Perfectly soft. I’m for sure one who wants her bread to be soft, fluffy, and light. This loaf is soft and fluffy for sure.
- Buttermilk and honey add richness and a very slight sweetness.
- It’s not complicated. If you have made sandwich bread before, you can tackle this recipe.
Ingredients used in this bread recipe
- Buttermilk. Nothing wrong with mixing up the homemade stuff here. SEE NOTES in the recipe card. Buttermilk gives this loaf a tender, soft crumb.
- Honey – It gives a nice touch of sweetness to this loaf.
- Butter – You can’t go wrong with butter. Butter gives this recipe a rich, soft texture.
- Bread Flour – I use bread flour but you can use all-purpose if that’s all you have on hand. Use equal measure.
- Instant or rapid-rise yeast. No need to activate the yeast if you’re using instant. Just measure, dump, and go.
- Salt – Salt helps strengthen the gluten and enhances the overall flavor
Tips & Tricks
- To achieve a nice, shiny loaf. Just rub with butter after you take it out of the oven.
- Allow to cool for 10 minutes in the pan, then remove to a wire rack to cool completely. If you leave it in the hot pan, condensation will build and the bottom of the loaf will get a bit soggy and wet.
- Then, allow the loaf to come to room temperature before slicing! I know we all like warm bread, but there are alternative ways to get your warmth. For now, let it cool completely, about 1-2 hours.
- If you slice bread before it’s completely cooled, it will result in a gummy texture. Trust me, it’s not nearly as good, so just wait it out.
- After it’s cooled, slice according to your preferred thickness. Up to this point, I have always sliced my loaves with just a bread knife. But if you have a slicer, go for it.
- Use a thermometer to check the bread’s temperature. For baking the bread, you will want your thermometer to read about 190- 200 degrees Fahrenheit for sandwich loaves.
- To cool the bread, you will want it to return to room temperature or less than 90 degrees.
Equipment needed
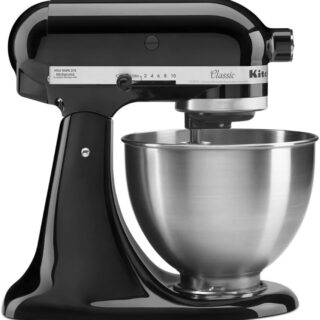
A stand mixer helps, but if you don’t have one, feel free to knead it by hand until you have smooth, elastic dough.
Bread pans. I have both nonstick and regular. These non-stick 1lb loaf pans work great for this recipe. Alternatively, I also have and use these heavyweight steel pans. I have used these for over a dozen years and they have held up so well!
No other special equipment is necessary
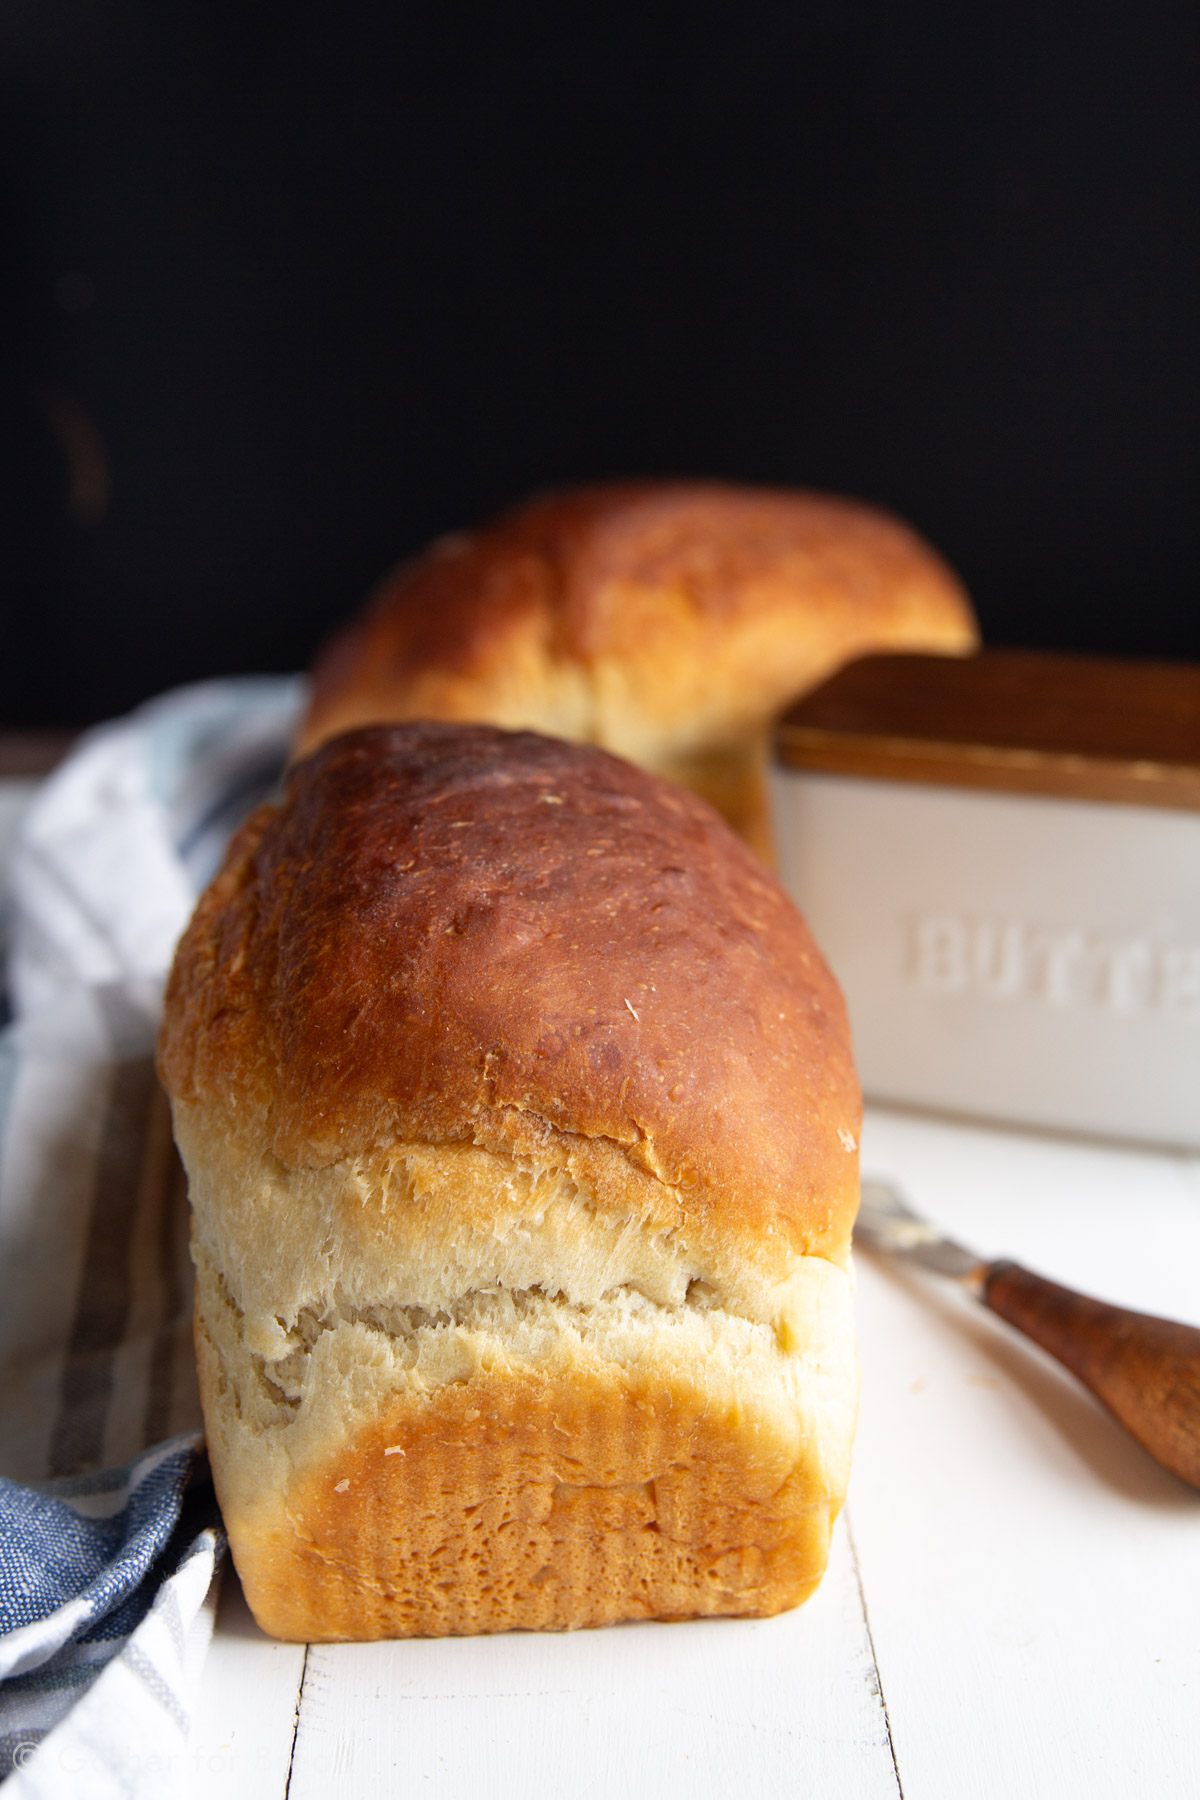
This is by far my favorite sandwich bread right now. Even though it rises and bakes up within 2 hours there is no sacrifice to taste or quality. It’s an excellent choice for your standard loaf.
I love the role that buttermilk plays in this recipe. It gives it this great flavor and aroma.
As I mentioned, it is my favorite right now. It slices up so nicely compared to others I’ve tried that resulted in lots of crumbs or tearing.
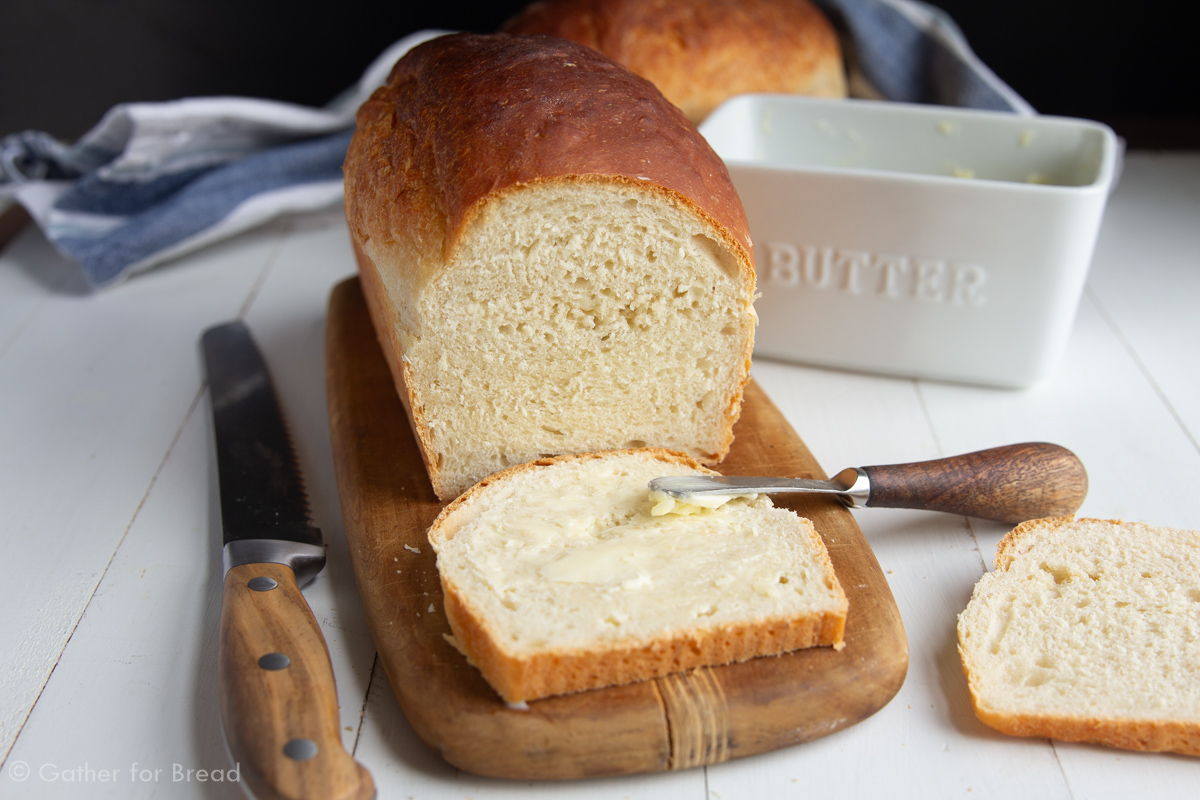
This sandwich bread works excellently for peanut butter and jelly, grilled cheese, lunch meat, and any other sandwich you can dream up. Who doesn’t love an all-around awesome sandwich bread, right?
Do you know why I enjoy baking homemade bread? It totally beats all those preservatives in the bread. You’ve looked at the ingredients before. Totally alarming. I know. It’s hard to stay away from processed foods. I understand. And we do enjoy some here in our house. But if I can avoid buying sandwich bread over and over by all means, that’s what I try to do.
It’s impossible to always steer clear for the sake of time. But I try to bake 2 loaves at a time, so that helps. So I use one and freeze the other. Also, my kids don’t eat as many sandwiches as they used to, so 2 loaves will usually last 2 weeks here. And my husband very rarely eats sandwiches.
Well, that’s fine with me because I could easily eat grilled cheese every other day. Yum!
Hope you get a chance to try this easy, all-around sandwich bread. You’ll be glad you did!
Til we meet and eat again friends,

Buttermilk American Sandwich Bread
- Total Time: 2 hours 35 minutes
- Yield: 1 loaf 1x
Description
Buttermilk American Sandwich Bread – Homemade American Sandwich bread made with real fresh ingredients like buttermilk, honey and flour. This made from scratch dough makes a perfect slice for sandwiches and toast.
Ingredients
- 1 cup buttermilk (110 degrees)
- 1/3 cup warm water (110 degrees)
- 3 tablespoons honey
- 2 tablespoons unsalted butter (melted)
- 3 1/2 cups bread flour
- 2 1/4 teaspoons instant or rapid rise yeast
- 2 teaspoons salt
Instructions
- Heat oven to 200 degrees. Once the temperature reaches 200, maintain the heat for 10 minutes, then turn the oven off.
- In a 4-cup liquid measuring cup, whisk together buttermilk, water, honey, and melted butter. Using a stand mixer fitted with a dough hook, combine flour, yeast, and salt on low speed. Slowly add the milk mixture and let the dough come together for about 2 minutes. Increase the speed to medium and knead until the dough is smooth, about 10 minutes. Scrape the bowl down as needed. Transfer the dough to the lightly floured counter and knead by hand to form a smooth, round ball.
- Place dough in a large, lightly greased bowl and cover with greased plastic wrap. Let rise in the warmed oven for 40-50 minutes or until doubled in size. Alternatively, if you need your oven space, let the dough rise in a warm spot in the kitchen for 45-60 minutes, or until doubled in size.
- Grease 9 x 5 loaf pan. Transfer the dough to a lightly floured surface and press it into a rectangle, 1 inch thick and no longer than 9 inches, with the long side facing you. Roll dough towards you into a firm cylinder, keep the roll tight by tucking it under itself as you go. Turn the loaf seam side down in the pan, pressing gently into the corners. Cover the loaf loosely with plastic and let it rise at room temperature for 30 minutes. The dough should barely spring back when poked gently.
- Keep one oven rack in the lowest position and place the other in the middle position, and heat the oven to 350 degrees. Place an empty baking pan on the bottom rack. Bring 2 cups of water to a boil in a small saucepan. Pour boiling water into the empty pan on the bottom rack and set the loaf on the middle rack. Bake until crust is golden brown or a thermometer reads 195 degrees, 40 to 50 minutes.
- Transfer the pan to a wire rack and let it cool for 5 minutes. Remove the bread from the pan, transfer it to a wire rack, and let it cool to room temperature, about 2 hours.
- Slice and serve. (Bread can be wrapped in double-layered plastic wrap and stored at room temperature for 3 days. Wrap with an additional layer of foil and freeze up to a month.)

Notes
To make buttermilk. Simply take 1 Tablespoon of vinegar and place it into a liquid measuring cup. Fill to the one cup line for 1 cup of buttermilk. Let it rest for 5-10 minutes until thickened or curdled. Use in the recipe as you normally would.
- Prep Time: 25 minutes
- Rise/Rest Time: 80 minutes
- Cook Time: 50 minutes
- Category: Bread
- Method: Baking
- Cuisine: American
Recipe from: The Cook’s Illustrated Baking Book
Linked to: Time to Sparkle, Create Link Inspire, Lamberts Lately, Buns in My Oven, Marvelous Mondays,

Melanie, can I use my bread machine for this recipe?
Although I haven’t tried it myself….I’m sure you could Kathy. If you give it a try come back and let us know. Thanks!
Did it in the bread machine today. I stopped it about 15 minutes before the cycle was done, and I think it benefits from an extra T of water. The initial knead seemed just a bit pastier than my standard bread machine recipes. Very soft and chewy!
Thanks for the feedback! Have a wonderful day!
There is nothing like homemade bread! I love the Cooks Illustrated Baking Cookbook, but haven’t had a chance to try this recipe. Definitely need to try it soon and make some sandwiches for lunch with it!
It’s definitely a great cookbook. So glad I requested it for Christmas. 🙂
You have fully inspired me to try baking a loaf of bread! You recipe sounds so approachable. And there really isn’t anything better than freshly baked bread. Love that yeasty smell wafting from the oven as it cooks.
Awesome! So glad to inspire you to bake! wish I could come over and help you with the first one. 🙂
That bread looks so soft! I want to come eat a sandwich at your house 🙂
Come on over. Girl’s lunch. I’m game!
That loaf looks so amazingly fresh, Melanie. I have got to get into some bread-making pronto! You’ve most definitely inspired me!
You definitely do. That’s the second girl I’ve inspired. Woo-hoo! 🙂
Pinning this to try later!!! Homemade bread has been on my list for a while, and I love that it comes to together so quickly.
Awesome! Thanks for pinning. Hope you get a chance to try it!
Homemade bread it the best! I love the way my house smells when it is baking. I need to get baking!
It is. I totally agree!
Your bread looks absolutely amazing!!! It looks so soft and fluffy on the inside! I LOVE baking different breads, it’s one of my favorite things to bake! This looks fantastic!!!
Me too Maria! There’s something so satisfying about baking a loaf of bread all by yourself. Thanks for stopping by!
I am new to bread making, but this looks awesome, and I think it will be first attempt. Who doesn’t want sandwich bread?
Definitely give it a try Rach. This is such an easy one to start with! Thanks for dropping by!
This looks incredible, Melanie. I’ve been making my own bread for years now and have always used my bread machine. I’ve been on the hunt for a recipe that would allow me to bake it in the oven and yours looks absolutely perfect. Can’t wait to try it sometime!!
Hope it works out well for you Kathi! This one is super easy in my humble opinion!
you need to make a cookbook on bread, it is seriously your calling!! this looks absolutely wonderful 🙂
You’re so kind Christine! Maybe some day. 🙂
This bread looks seriously perfect Melanie! Pinning!
Thanks for pinning Trish! Glad you stopped by. 🙂
This looks delicious, Melanie! I love making bread at home. You’re spot on about the creepy chemicals that are usually found on the labels of storebought sliced bread. Besides, I just plain love saving money by making my own bread. Would love to try this this weekend. When you bake two loaves do you just double everything?
Yes I do. Hope it works out well for you! I just made a double batch last week.
This looks delicious! I love trying new bread recipes. Thanks for sharing!
Thank you Kelley! So glad you stopped by. 🙂
I’m confused by step 4. Could you explain that part some more? As I understand you put a baking stone with a pan of water on the lowest rack then put the loaf pan with dough on another rack? Thanks.
I’m updated the directions Kendra. I hope this helps any confusion. Good luck baking!
Thanks! I got it now! About to put it in the oven. It already smells great in the kitchen.
I hope it tastes great!
im putting this together right now. I measured the flour, then weighed it and it says 16.5 oz. I wanted to double-check to make sure 19.25 is correct. Thanks.
I’m sorry that I couldn’t answer your email sooner. Did you finish making the recipe? I can’t believe I had that as incorrect. It should be 3 1/2 cups. Hope it worked out for you!
Hi Melanie,
The bread turned out great! I’ve made it several more times since. I noticed the original recipe calls for AP flour, so I switched to that, and I really cannot tell any difference. I love how moist the inside is and STAYS that way for several days. It doesn’t seem like “day old bread” after a day or two like my regular white bread. Super easy to slice too, and never gets crumbly. I have to say that I’ve been using the same oven for 15 years and it doesn’t run hot – but if I baked it for 50 minutes it would be ruined. It’s done in 30 minutes, and the crust is dark brown, possibly even darker than the photos up there. I am so glad I tried this recipe. It’s definitely a keeper.
Thanks for the feedback Marianne! I really appreciate hearing from my readers and how they made out with the recipes. Good to note. Original recipe stated 40-50 minutes so I keep with that knowing that ovens vary.
So glad you enjoyed the bread. It’s definitely delish!
I made this yesterday and it is a big hit! absolutely delicious. I am going to try using this recipe to make rolls today. It should work. Lol
I appreciate the feedback Barbara! It’s always nice for other readers to see that a recipe was successful so that they’re willing to try it as well.
Thanks for taking the time to let me know. Hope the rolls turn out well too. Have a beautiful day!
This is comfort food at its finest! This bread is so so good. I’ll be making it again this week to share with a friend who just had a baby. But of course I can’t just make one for her- we need some too ????. Thank you for this wonderful recipe!
That’s great Whitney! So glad you enjoyed this Sandwich Bread. Thanks for the positive wonderful feedback. 🙂
Aloha Melanie! This recipe sounds amazing and I love the wonderful reviews!
I just purchased the kitchenaid pro 6500 6 dt glass bowl mixer and this recipe will be my first in using it.
I live in Hawaii and bread is nearly $7 per loaf so I am very excited to make my own. Aloha
I have MS and arthritis in my hands so I cannot knead the dough. So I use my dough cycle on my bread machine. It works great. Will be making this again and again.
That is great to know. I’m so glad you still get to enjoy making bread despite your hardships. Enjoy the bread again and again. Have a wonderful day!
Hi! This looks great! I have been making sour dough for a while now and just tried making potato bread this week. Does this recipe need bread flour or can you use AP flour instead? Thanks!
Yes, all purpose flour is generally an acceptable substitute for bread flour. I haven’t tried it personally for this recipe but it should work. Let us know how it goes, Debbie!
The best loaf of bread I’ve ever eaten. I’ve made this recipe so many times. 100 stars
Thank you Elly! That is so awesome! Appreciate your feedback. Have a great day!
This is my new favorite! Makes a beautiful loaf and hamburger buns! Definitely adding this to my recipe book.